Updated in January 2023
| Mona | |
|---|---|
 |
Rating: Rarity: ★★★★★ Element: Weapon: EN Voice Actor: Felecia Angelle JP Voice Actor: Kohara Konomi |
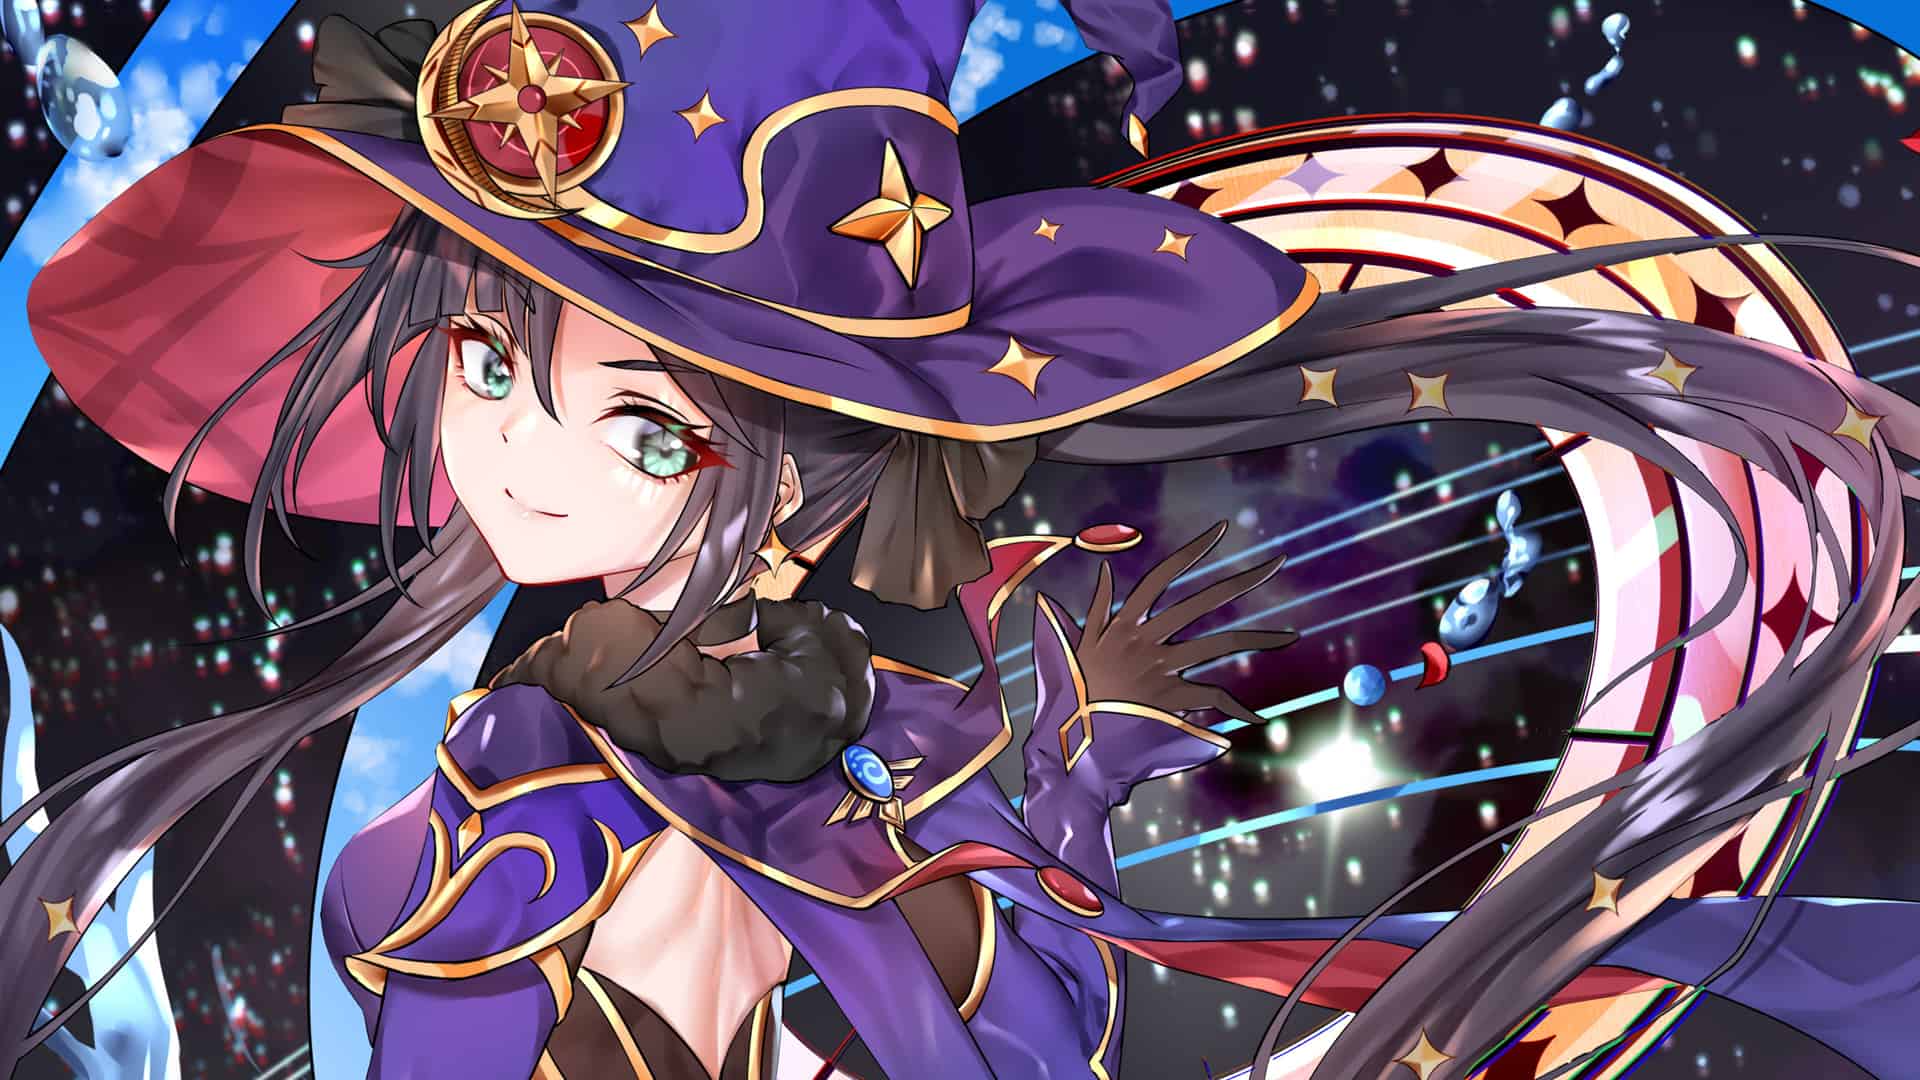
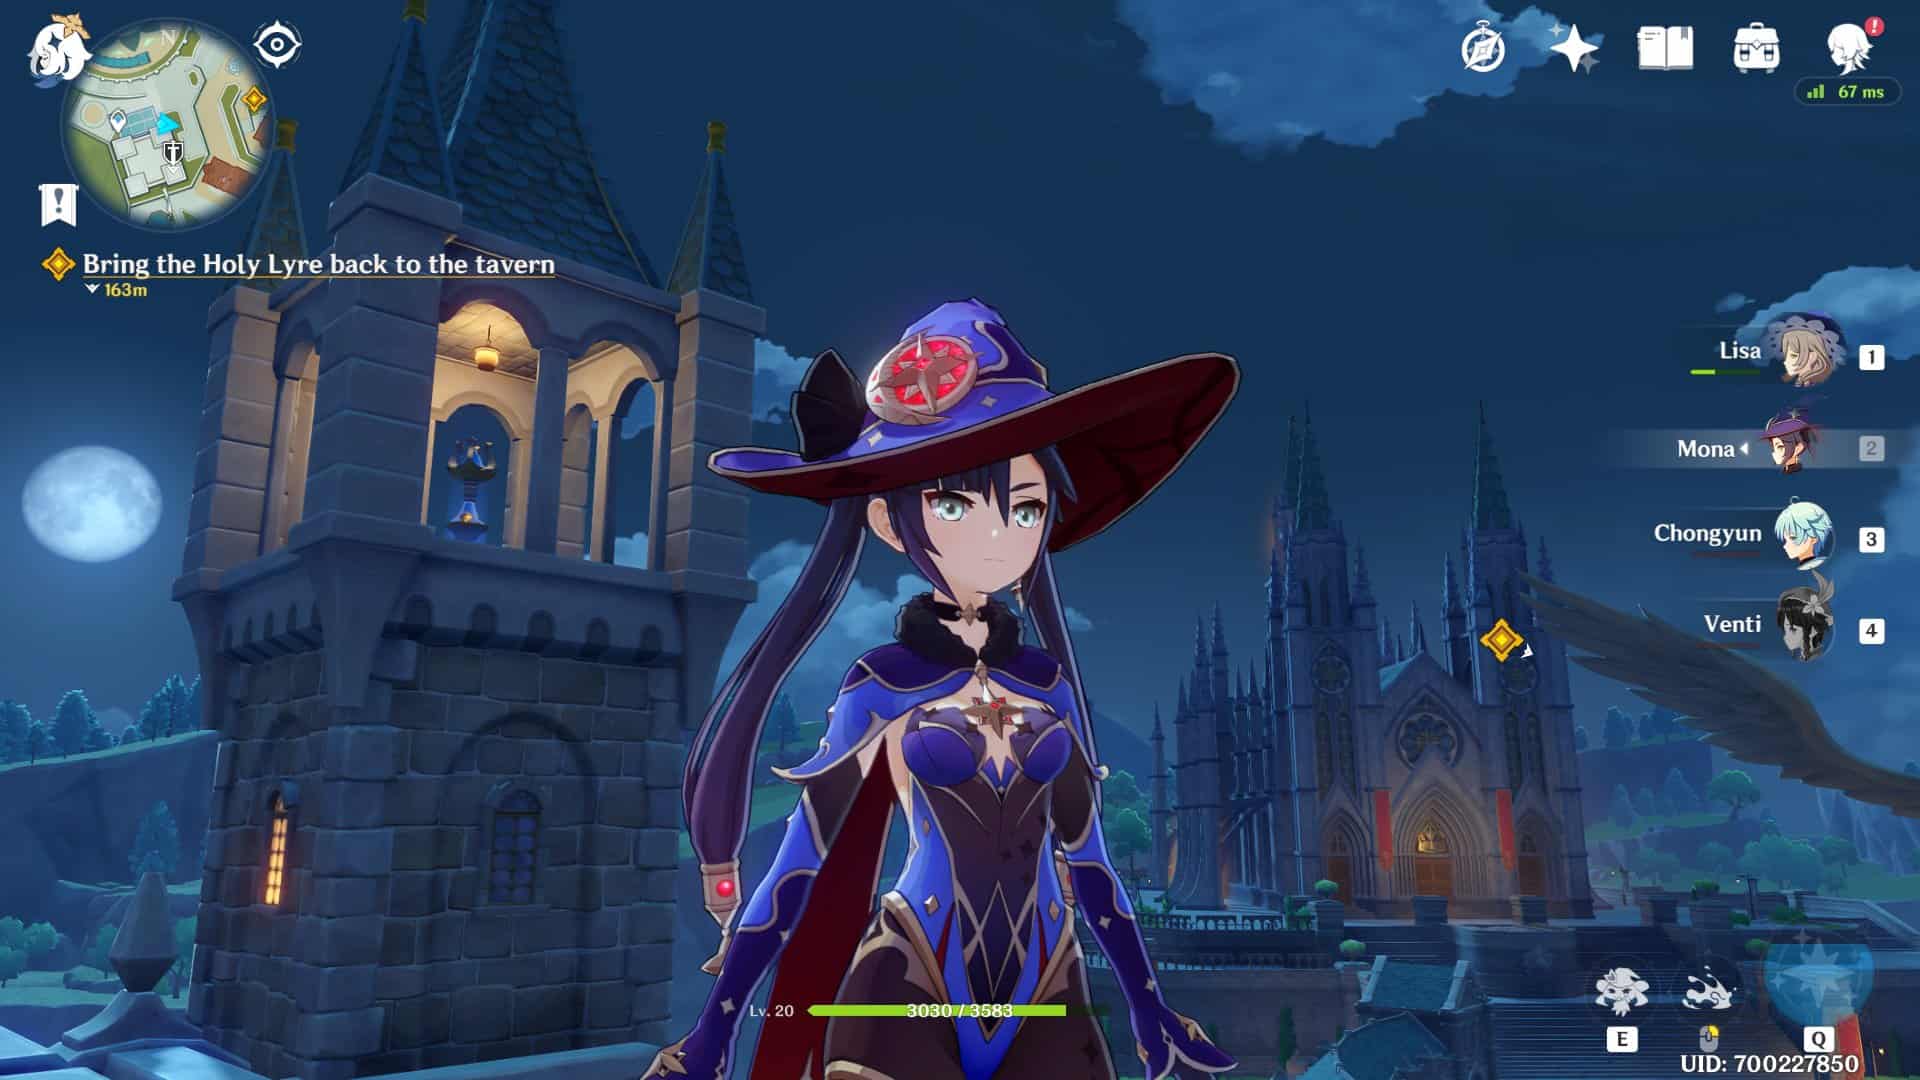
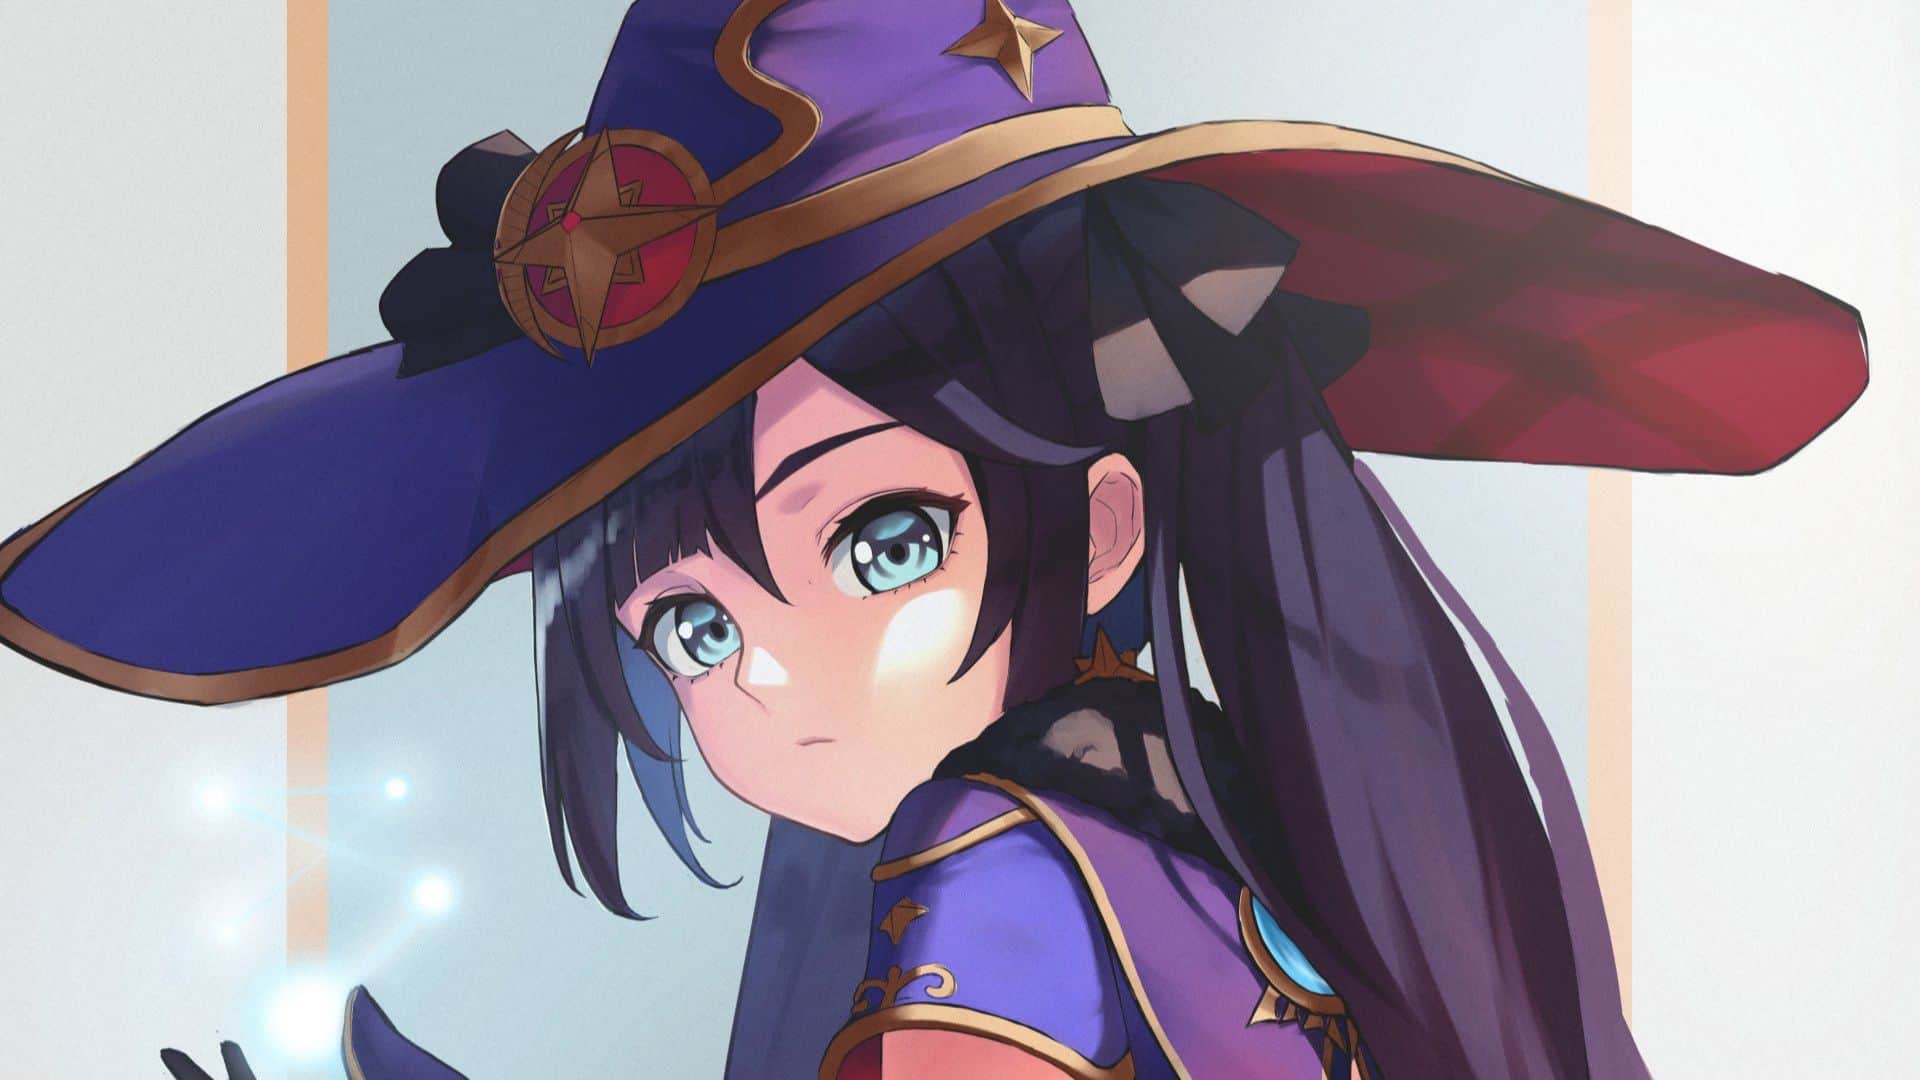
Mona Megistus is a character in Genshin Impact. She is an astrologer of great skill and pride who has settled in Mondstadt to avoid the anger of her master after she read her master’s diary without knowing she should not have.
She is most frequently played as Hydro support, but she can fulfill the role of Sub-DPS or main DPS if needed. She excels as an enabler because her skills allow other players to cause massive damage.
Mona was also the first exploration character to have an alternative sprint method which helps her move more quickly through water environments. Mona is one of the best Hydro characters in Genshin Impact, and here is a Mona build guide that will help you make the most out of her.
Stats:
| HP | Attack | Defense | Ascension Stat | |
|---|---|---|---|---|
| Lvl 20 | 2,102 | 81 | 132 | Energy Recharge 100% |
| Lvl 80 | 9,677 | 267 | 607 | Energy Recharge 132% |
What you will need to create the best Mona build
Players can obtain Mona from Character Event banners or Standard banners within the game. Out of all the characters, she is one of the most difficult to build because many stats can contribute to her powerful attacks.
To make the best Mona build, you need to define what role she will play in your strategy. The right choice of ascension materials, weapons, artifacts, talents, skills, team members, and others will depend on your decision.
Talents
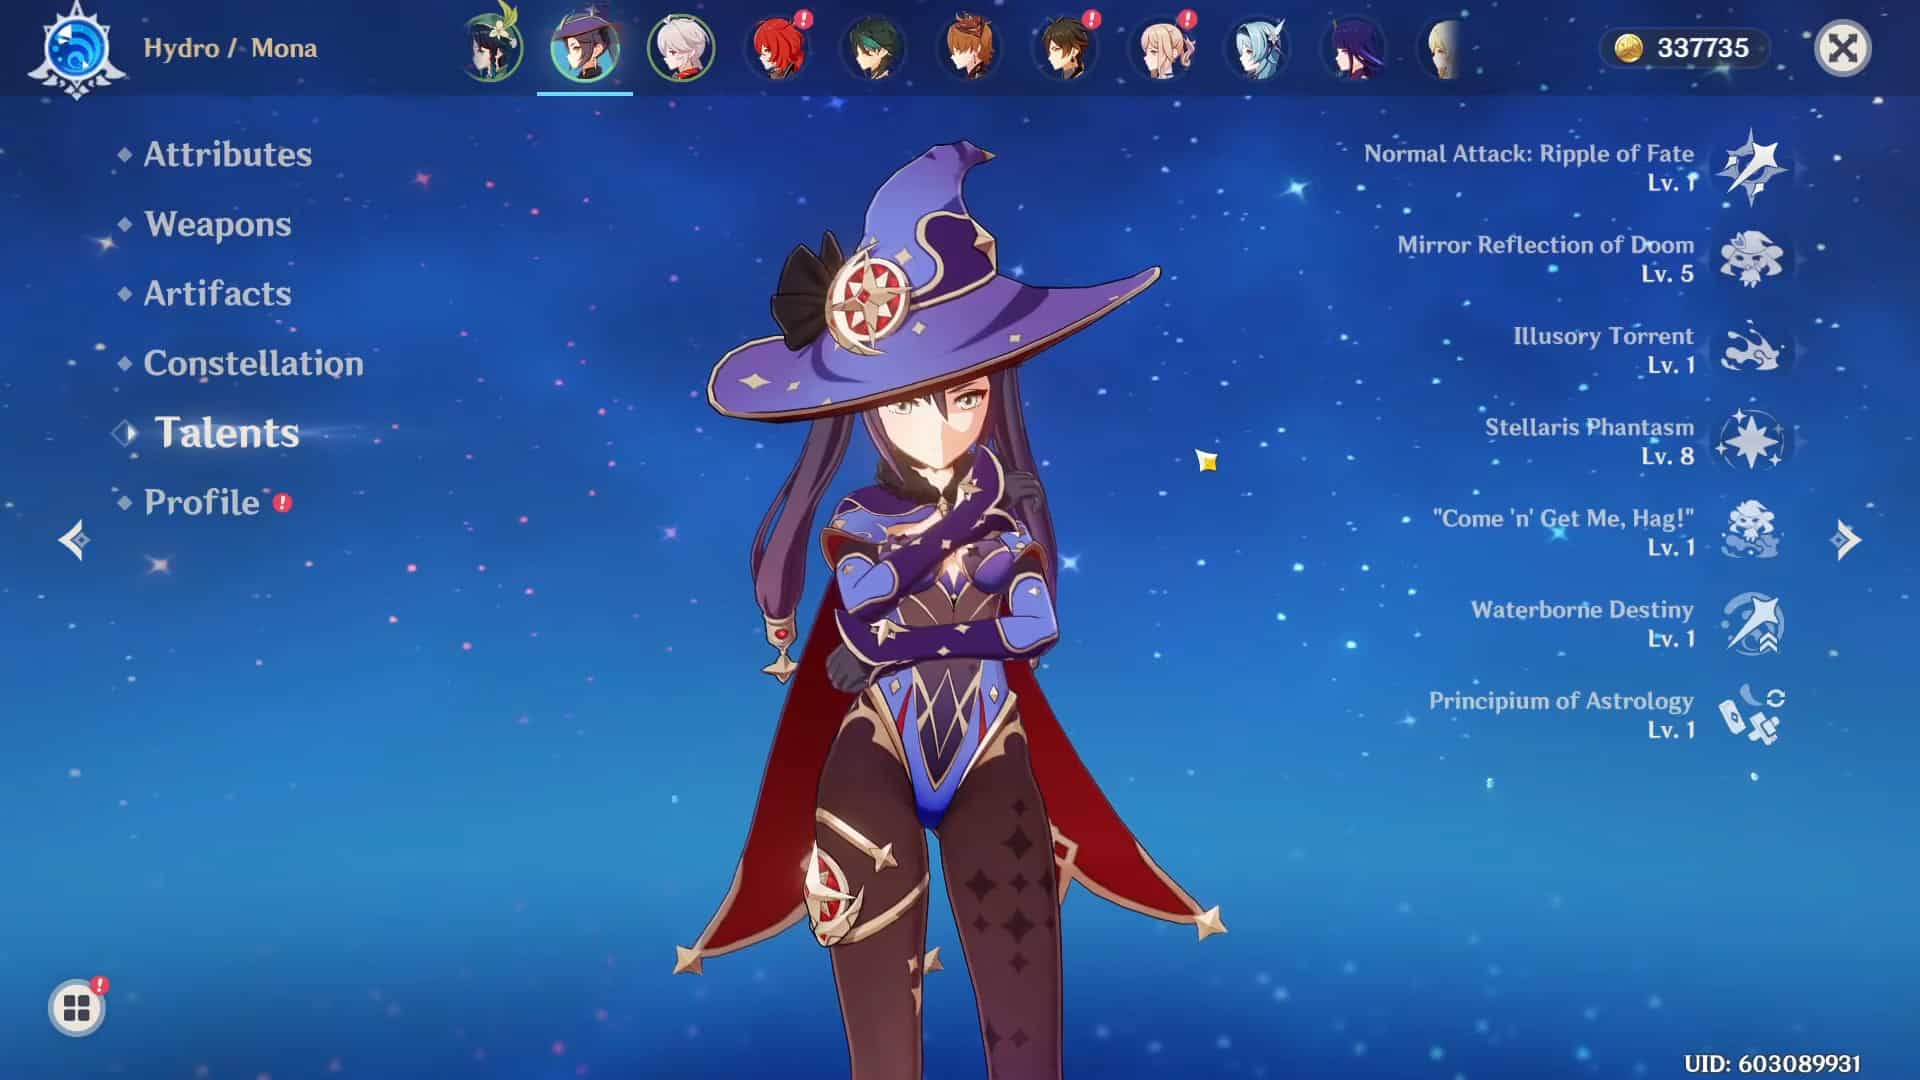
Each character has unique skills that give them powerful abilities. Mona has extraordinary talents make her stand out among the other Genshin Impact heroes.
Normal/Charged Attack (Ripple of Fate)
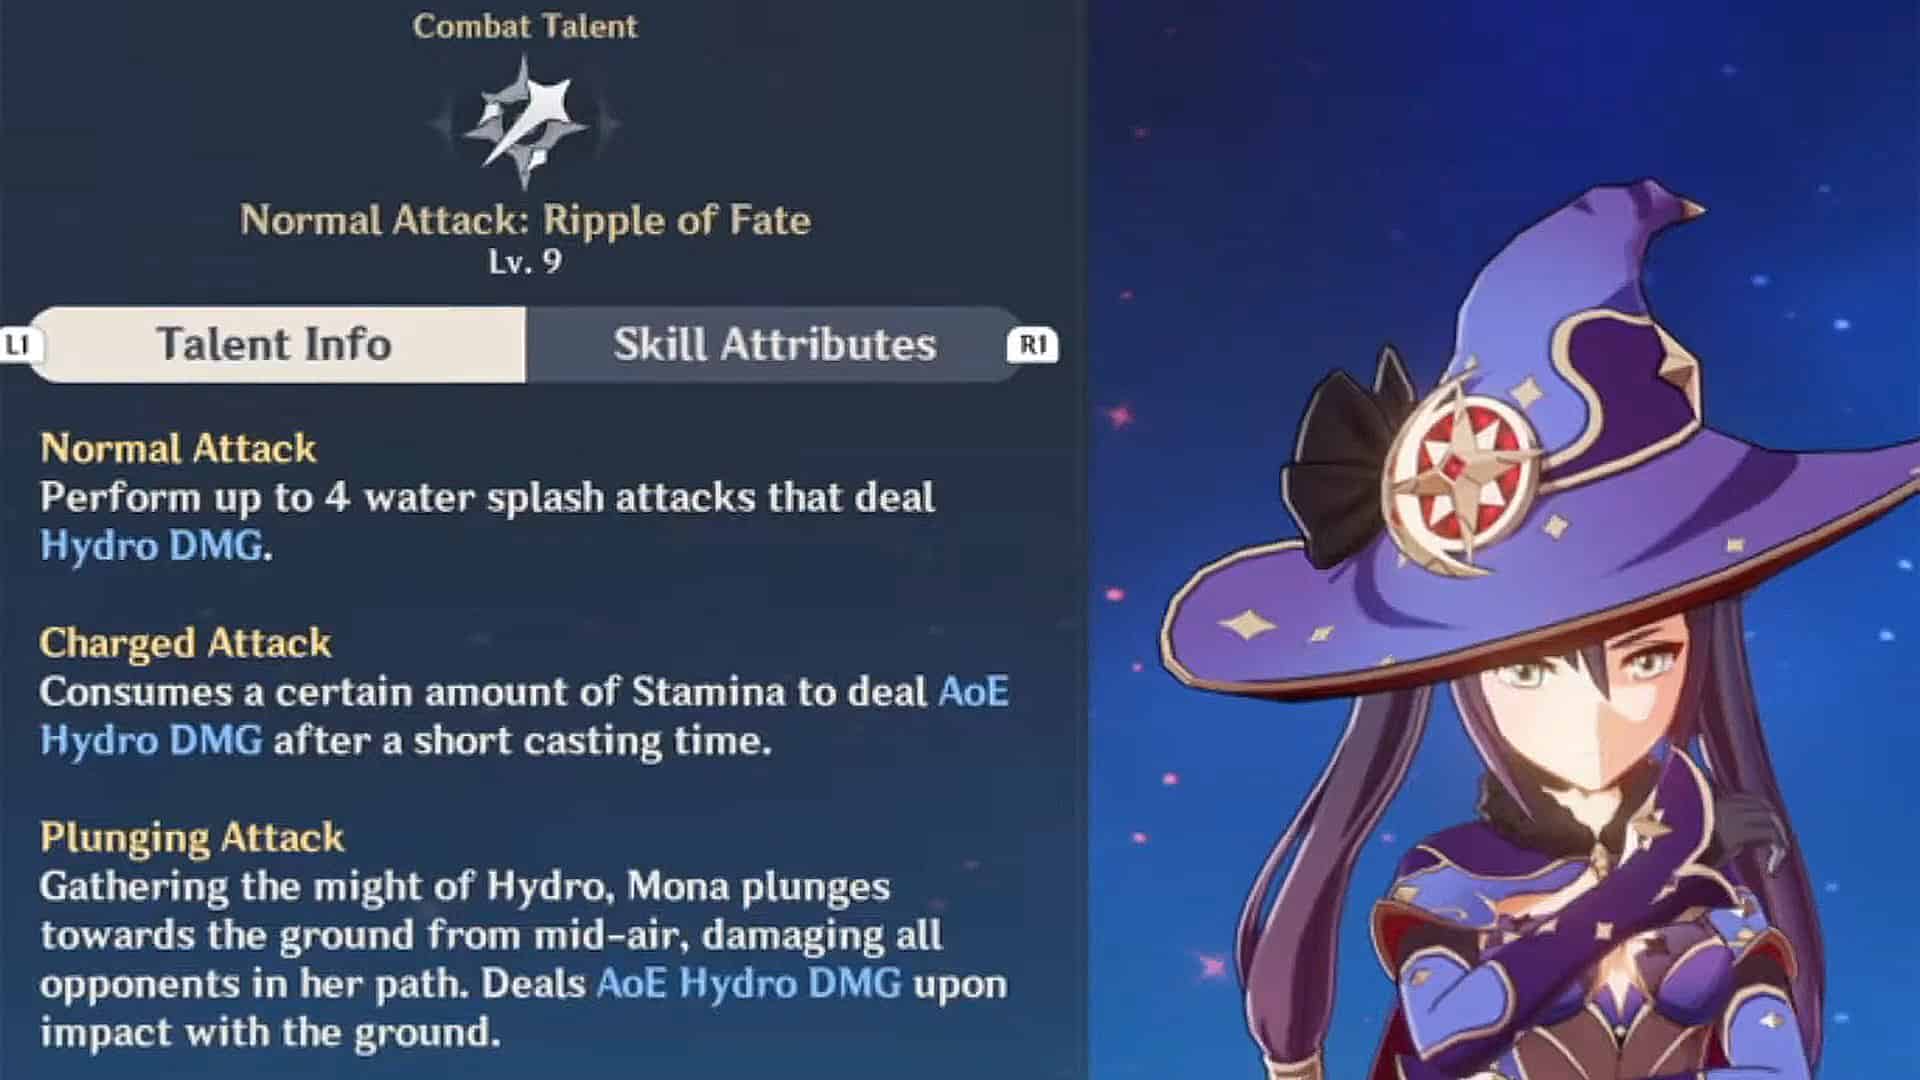
This talent is used for Mona build – Normal, Charged, and Plunge Attack. The Normal Attack chain has four different attacks, each with an unusual amount of damage. Regular attacks can harm multiple foes at once if they are close together, which pairs well with crowd control:
- The third attack in the string teleports Mona backward or forward, depending on her starting distance from the enemy. There is consequently a brief delay between the second and third attacks.
- The fourth attack is like a charging attack but with slightly more area of effect and damage.
- Because it is the final attack in the sequence, a slight pause after the 4th attack halts the beginning of any subsequent sets of attacks.
- The Charged Attack is a function in the game that allows players to do increased damage in a larger area of effect (AoE) at the cost of consuming some stamina.
- The Plunge Attack is a devastating move performed by Mona in which she dives toward the ground, causing Hydro Damage upon impact.
Optimal Attack String (Normal Attack Canceling)
Normal Attack, Ripple of Fate, hits the target with a growing damage output four times. There is also a Charged Attack which does significant AOE damage to enemies surrounding the original target.
It is best to make two Normal Attacks and then cancel the attack sequence with a Charged Attack. You can increase her damage output by animation-canceling the Charged Attack with Mona’s jump partway through the animation.
Just be aware that Jump Cancelling a Charged Attack takes some practice; if you jump too early, none of the Charged Attacks will connect, and no damage will be dealt.
Elemental Skill (Mirror Reflection of Doom)
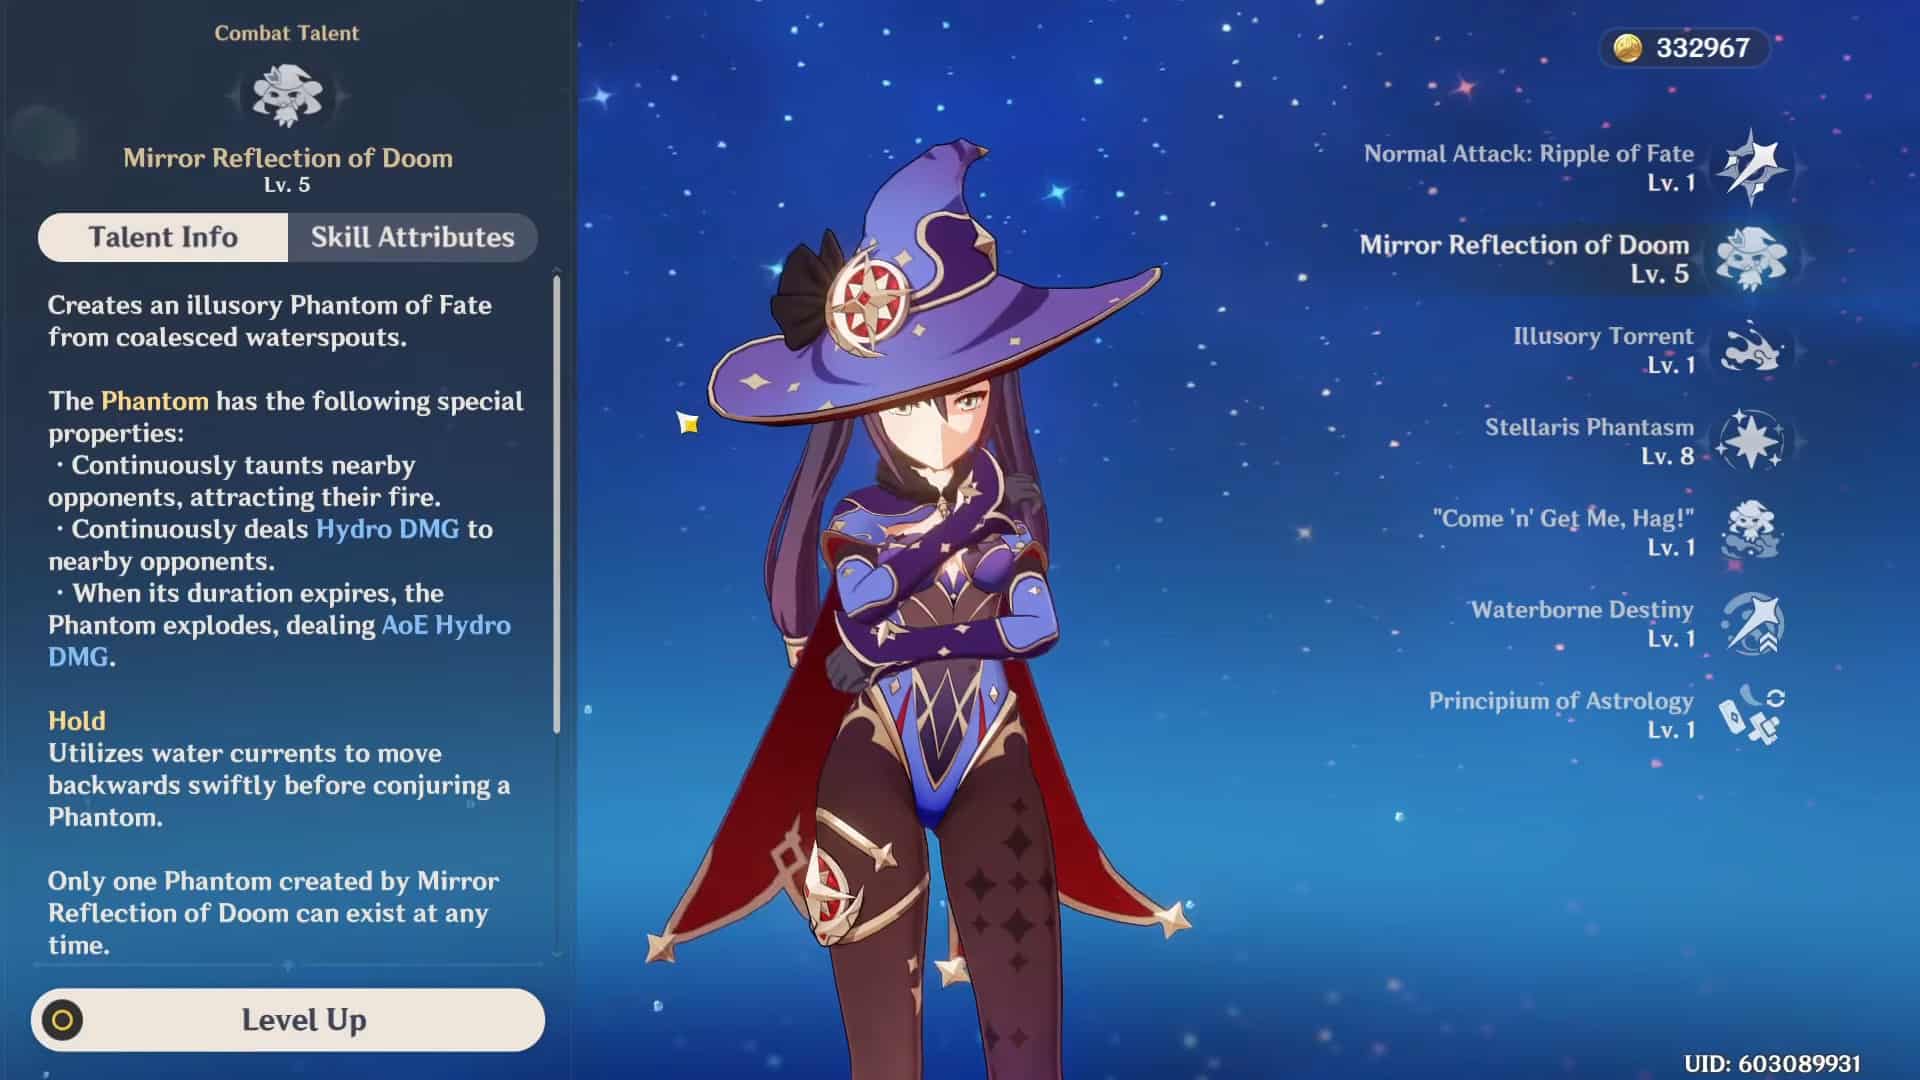
There are two ways to use Elemental skill:
- Tapping: her Elemental Skill produces a Phantom that taunts all enemies. The Phantom deals four DoTs over 4 seconds, followed by a final instance of Explosion damage.
- Holding: her Mirror Reflection of Doom (Elemental Skill) causes Mona to teleport backward, and the AOE taunt replaces her at a previous location. I-frames can be used for dodging enemies.
Particle Generation: on average, Elemental Skill (Mirror Reflection of Doom) will generate 3.33 Hydro Elemental Energy Particles at the end of the explosion; however, it is more likely that only three particles will be generated.
For hydro particles to be generated on the final eruption, they must hit an enemy on the fourth tick. This interaction can make it difficult for her to generate Energy overall reliably.
Stellaris Phantasm (Elemental Burst)
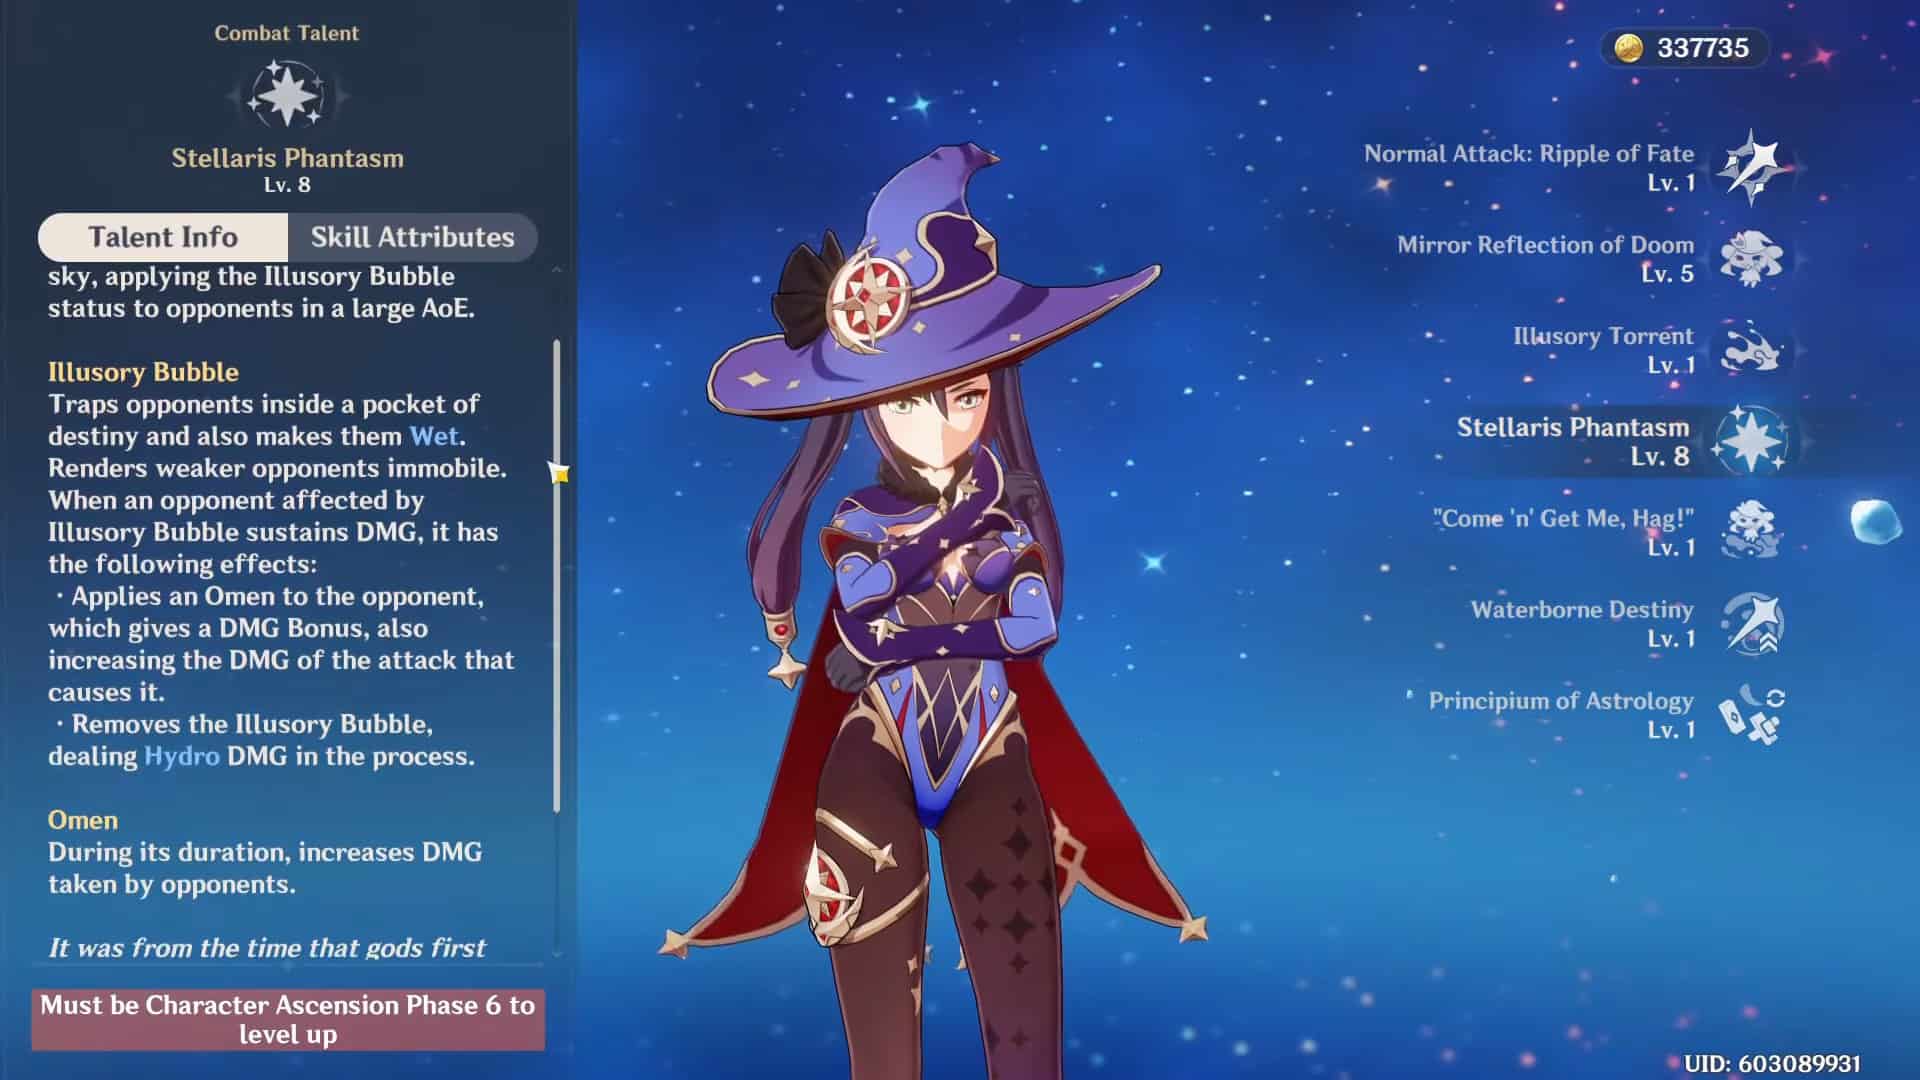
Illusory Bubble applies the Omen DMG% Buff and creates an imaginary bubble. The Bubble will deal damage when popped, and only then will the Omen DMG% Buff timer begin a countdown.
It is recommended that you prioritize leveling it up to level 7, and this will maximize the duration of your Omen DMG% Buff.
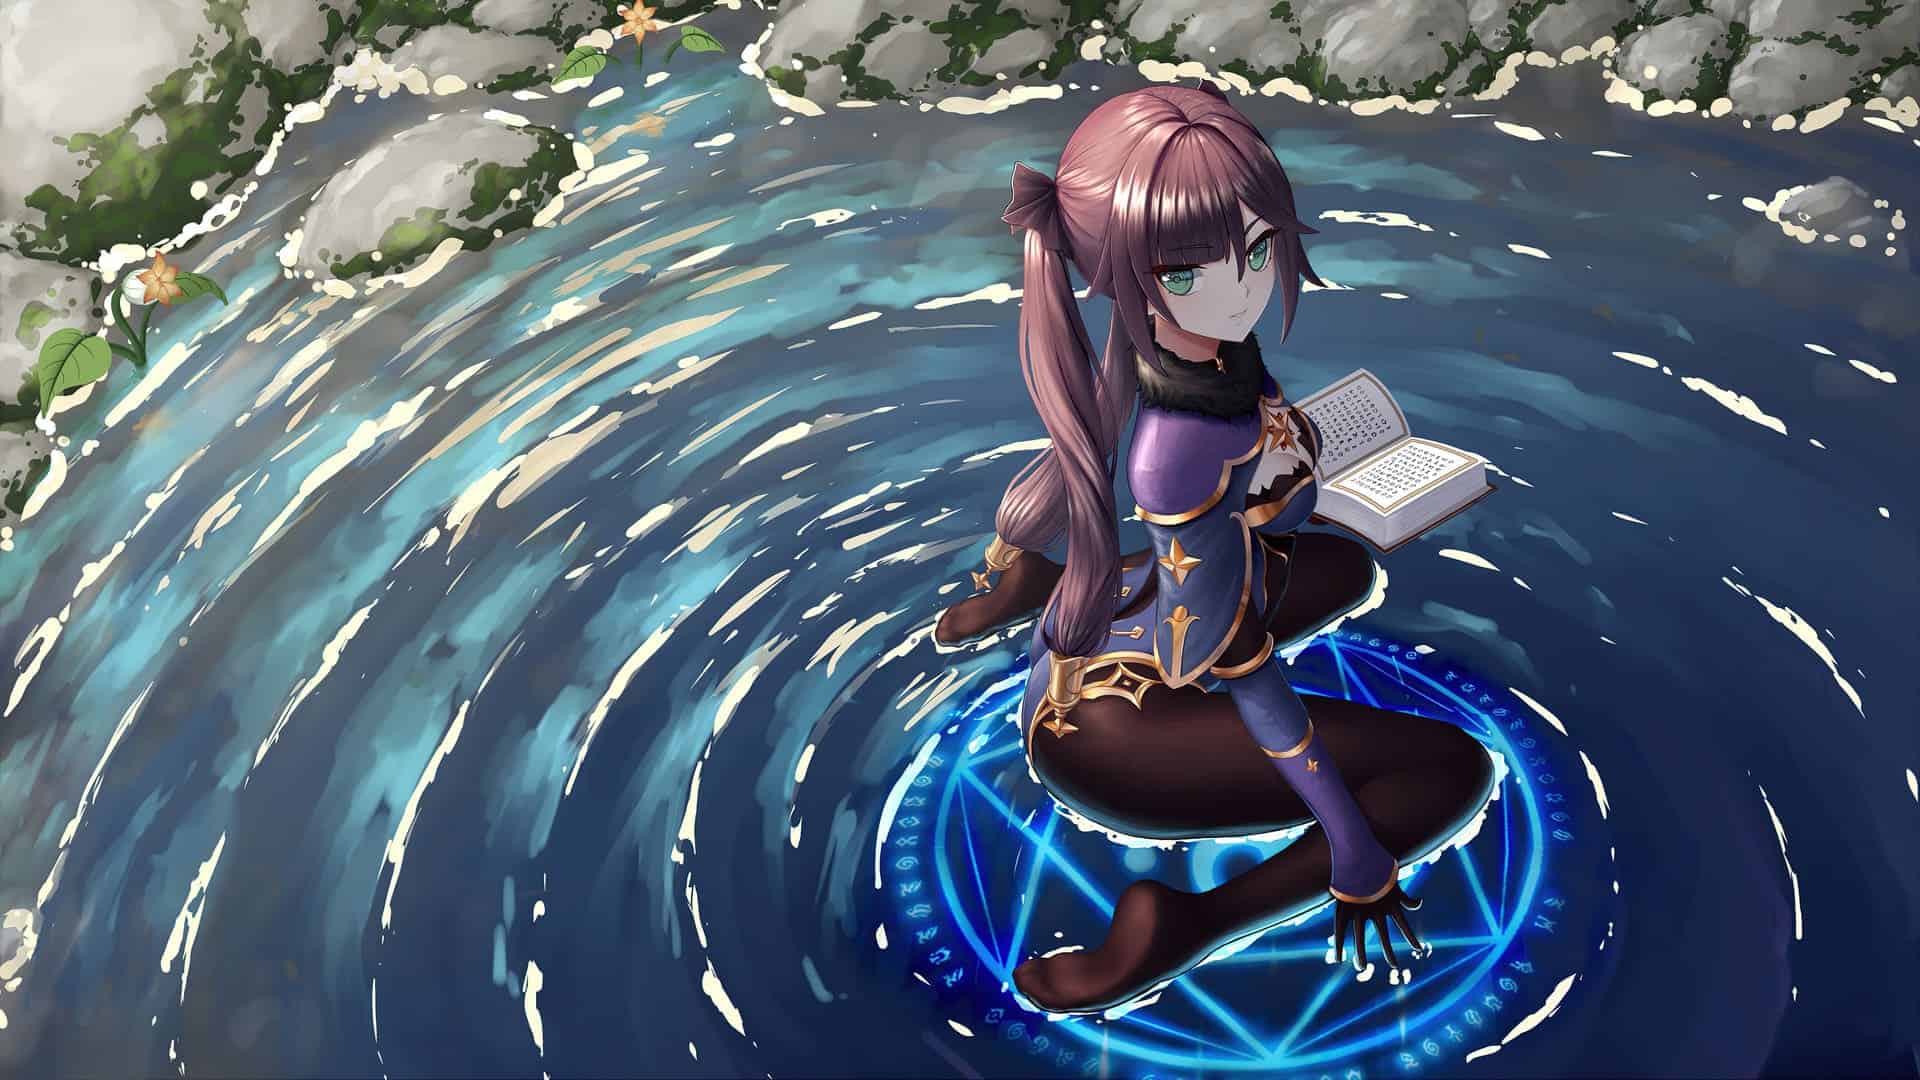
Alternative Sprint (Illusory Torrent)
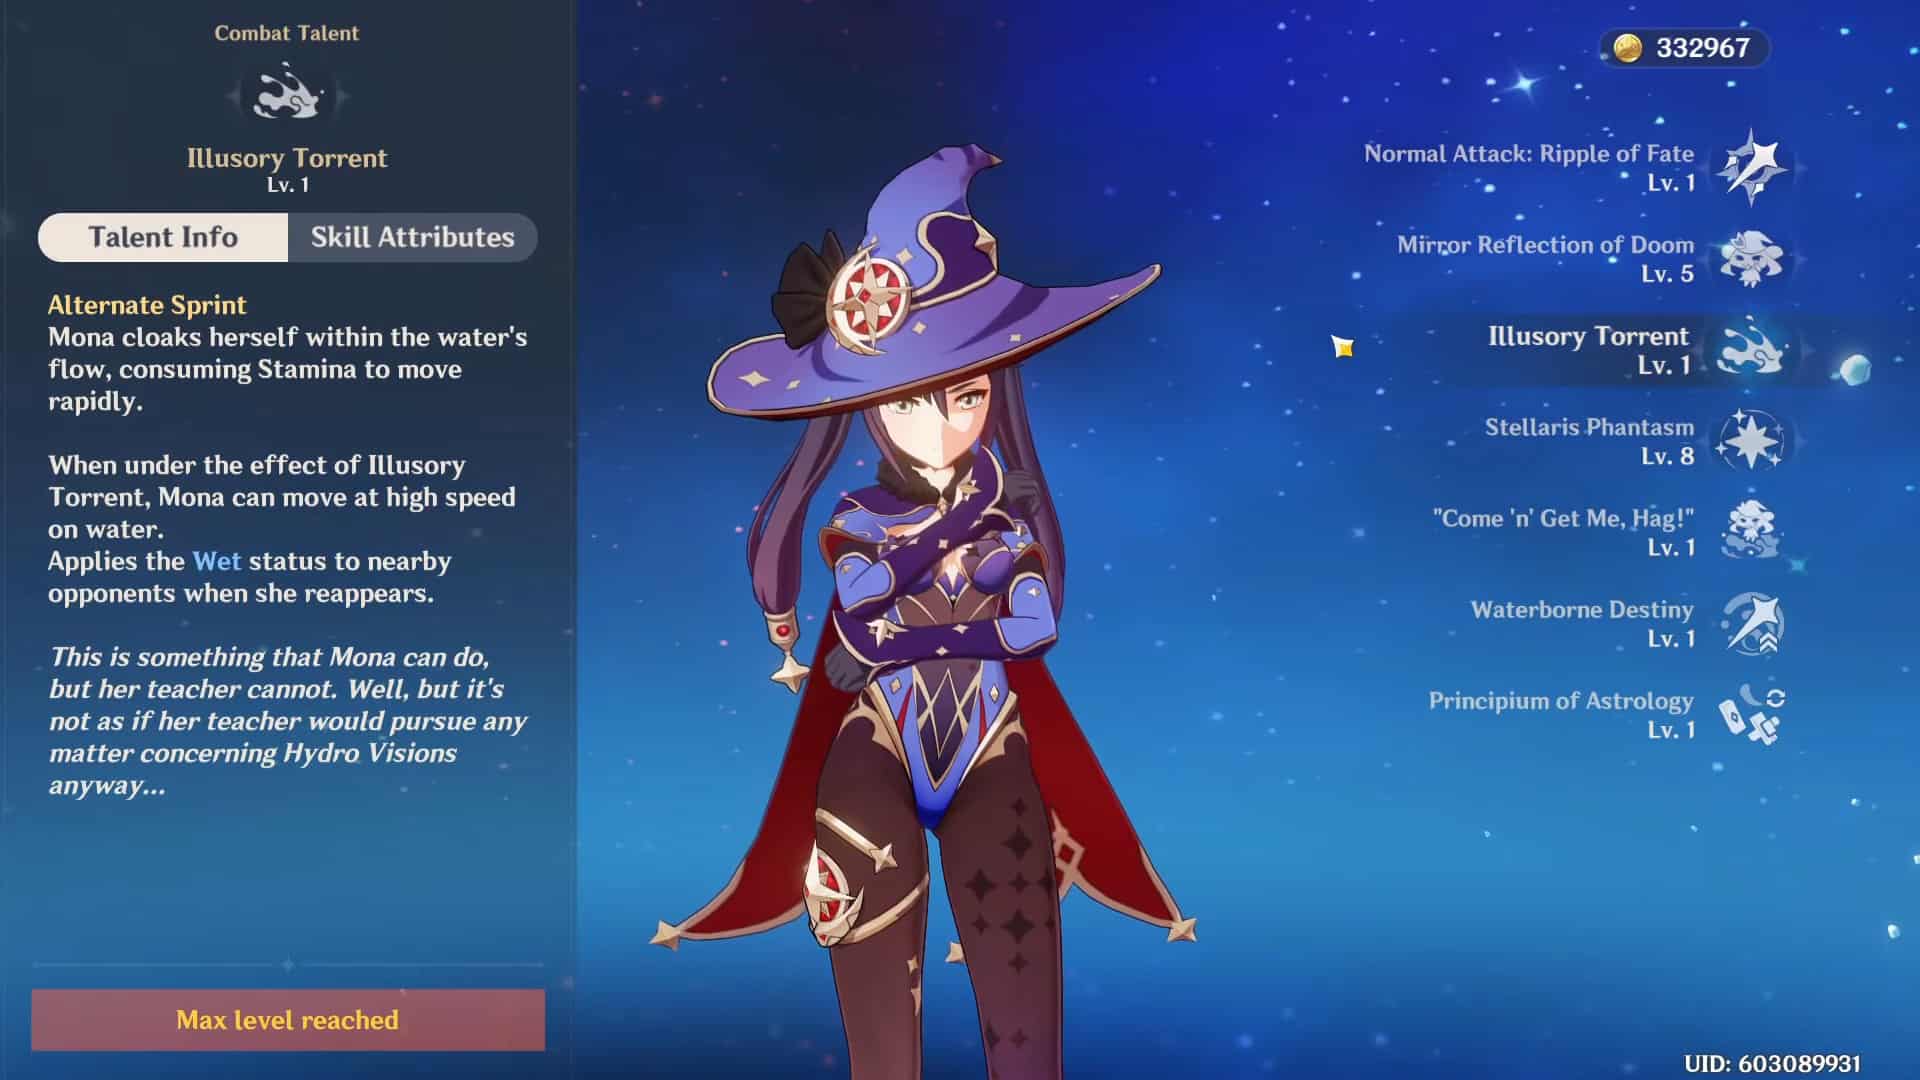
Mona will sink into the water flow animation on the ground, which uses stamina. She will apply Hydro to any opponents nearby when she rises back up. Note that she can still be harmed while she’s submerged.
Mona will sink into the water flow animation on the ground, which uses stamina. She will apply Hydro to any opponents nearby when she rises back up. Note that she can still be harmed while she’s submerged.
Illusory Torrent is only slightly faster than standard sprint animations, and it will take some practice to remember the timing of sprint animation down pat. To improve your combat experience, focus on understanding her positioning tools.
Also, remember that she is a ranged unit, giving her an advantage over other characters.
Come ‘n’ Get Me, Hag! (1st Ascension Passive)
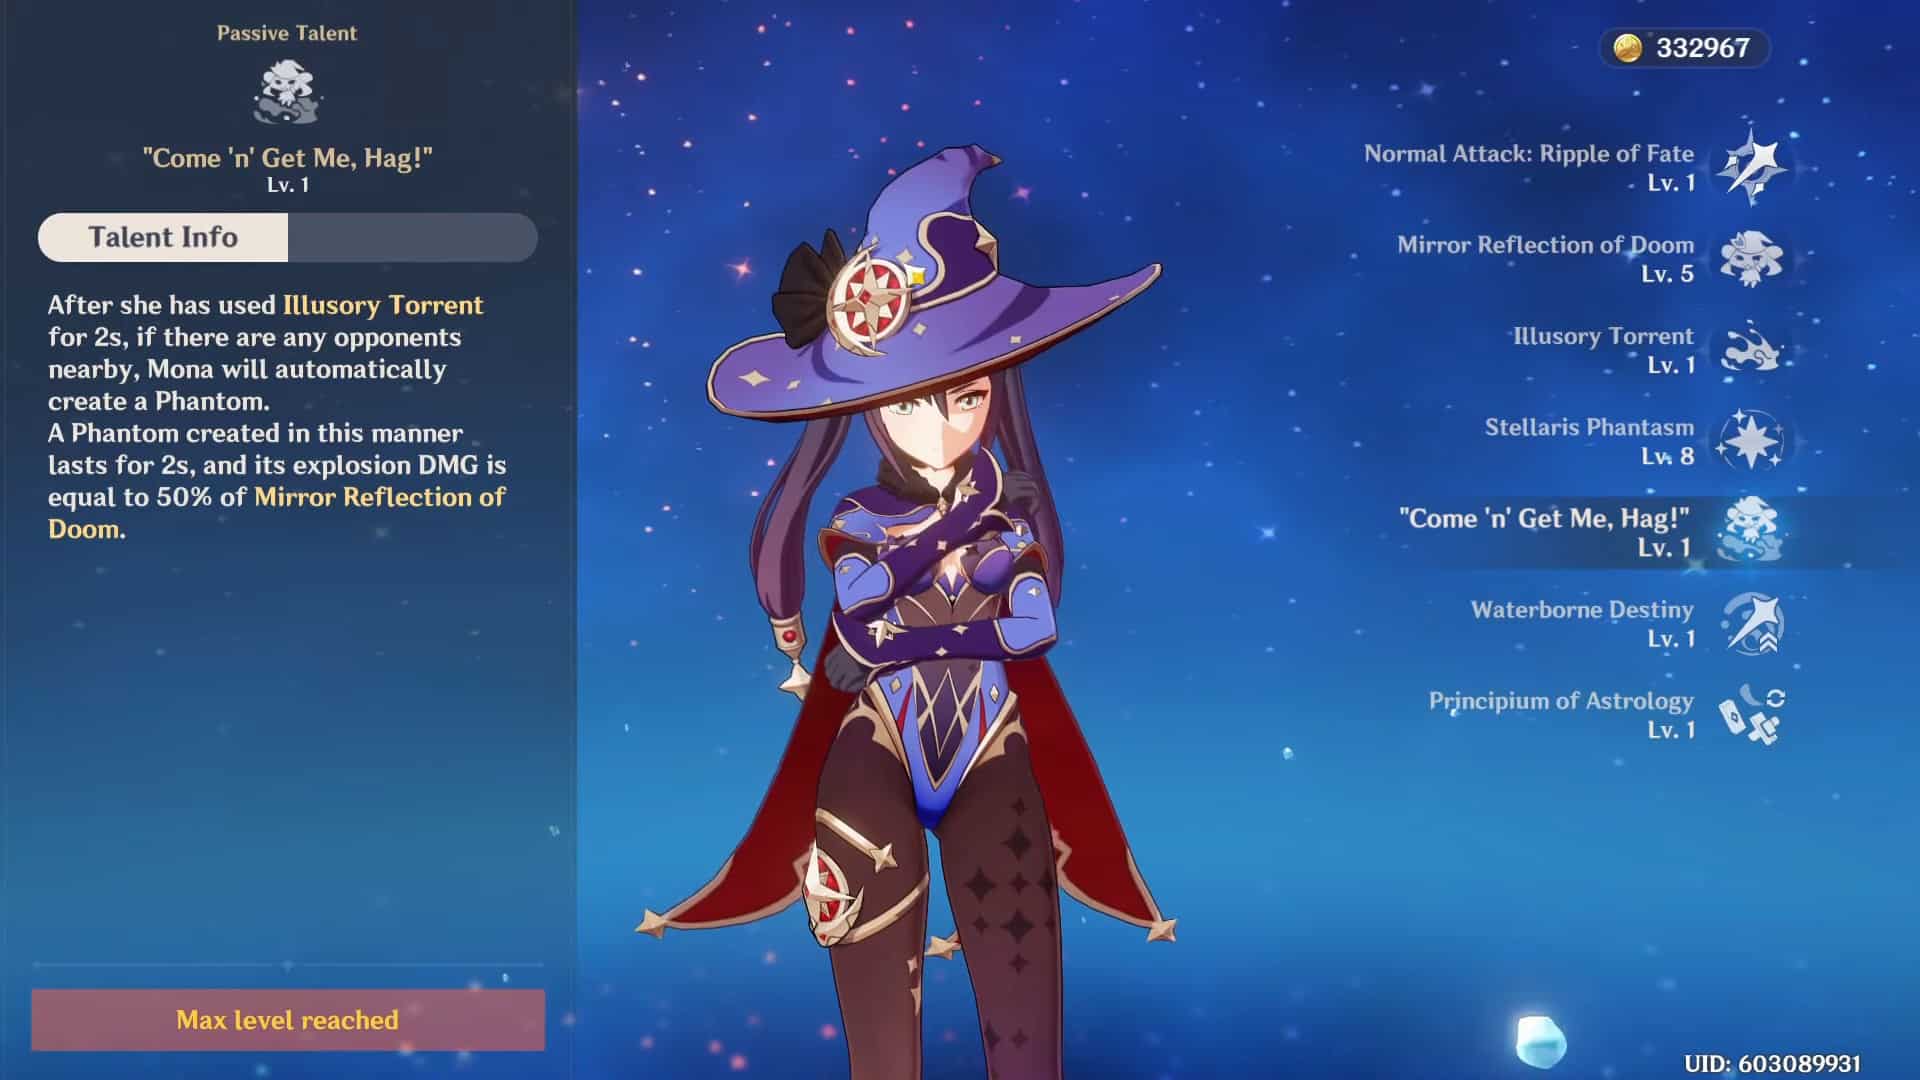
Mona will automatically generate an AOE Taunt after using Illusory Torrent for 2 seconds when an enemy is nearby. Dealing 50% of the Explosion DMG as Mirror Reflection of Doom also counts as Elemental Skill damage.
4th Ascension Passive (Waterborne Destiny)
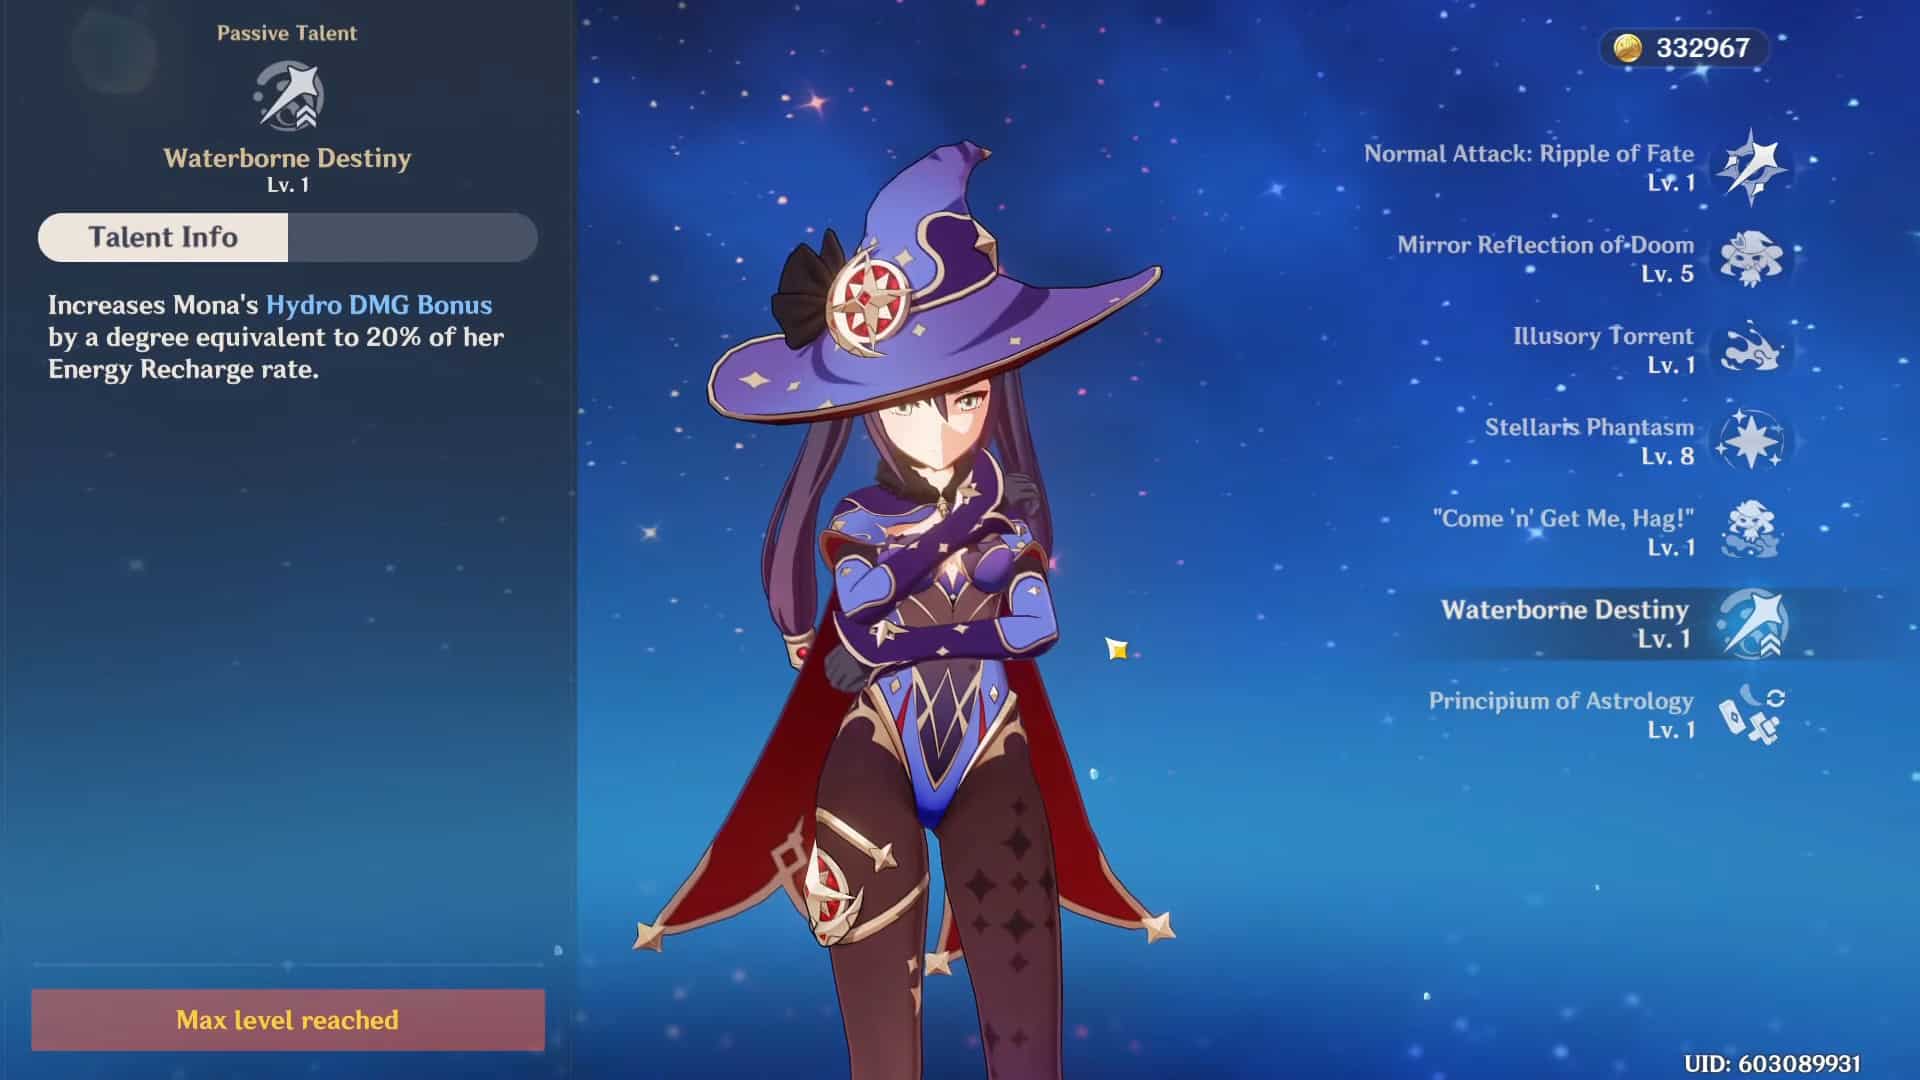
This Passive Talent increases Hydro DMG% by 20% of her total Energy Recharge. This nice Hydro DMG bonus stacks with the 32% from her Ascensions and 100% base. Refrain from getting baited into stacking ER% (Energy Recharge) to use this talent, as the conversion is only 20%.
It is usually better to run offensive stats. The exception is in Freeze Comps, where there is a greater focus on maintaining Omen DMG% Buff uptime rather than instantly maximizing her damage output.
Utility Passive | Principium of Astrology
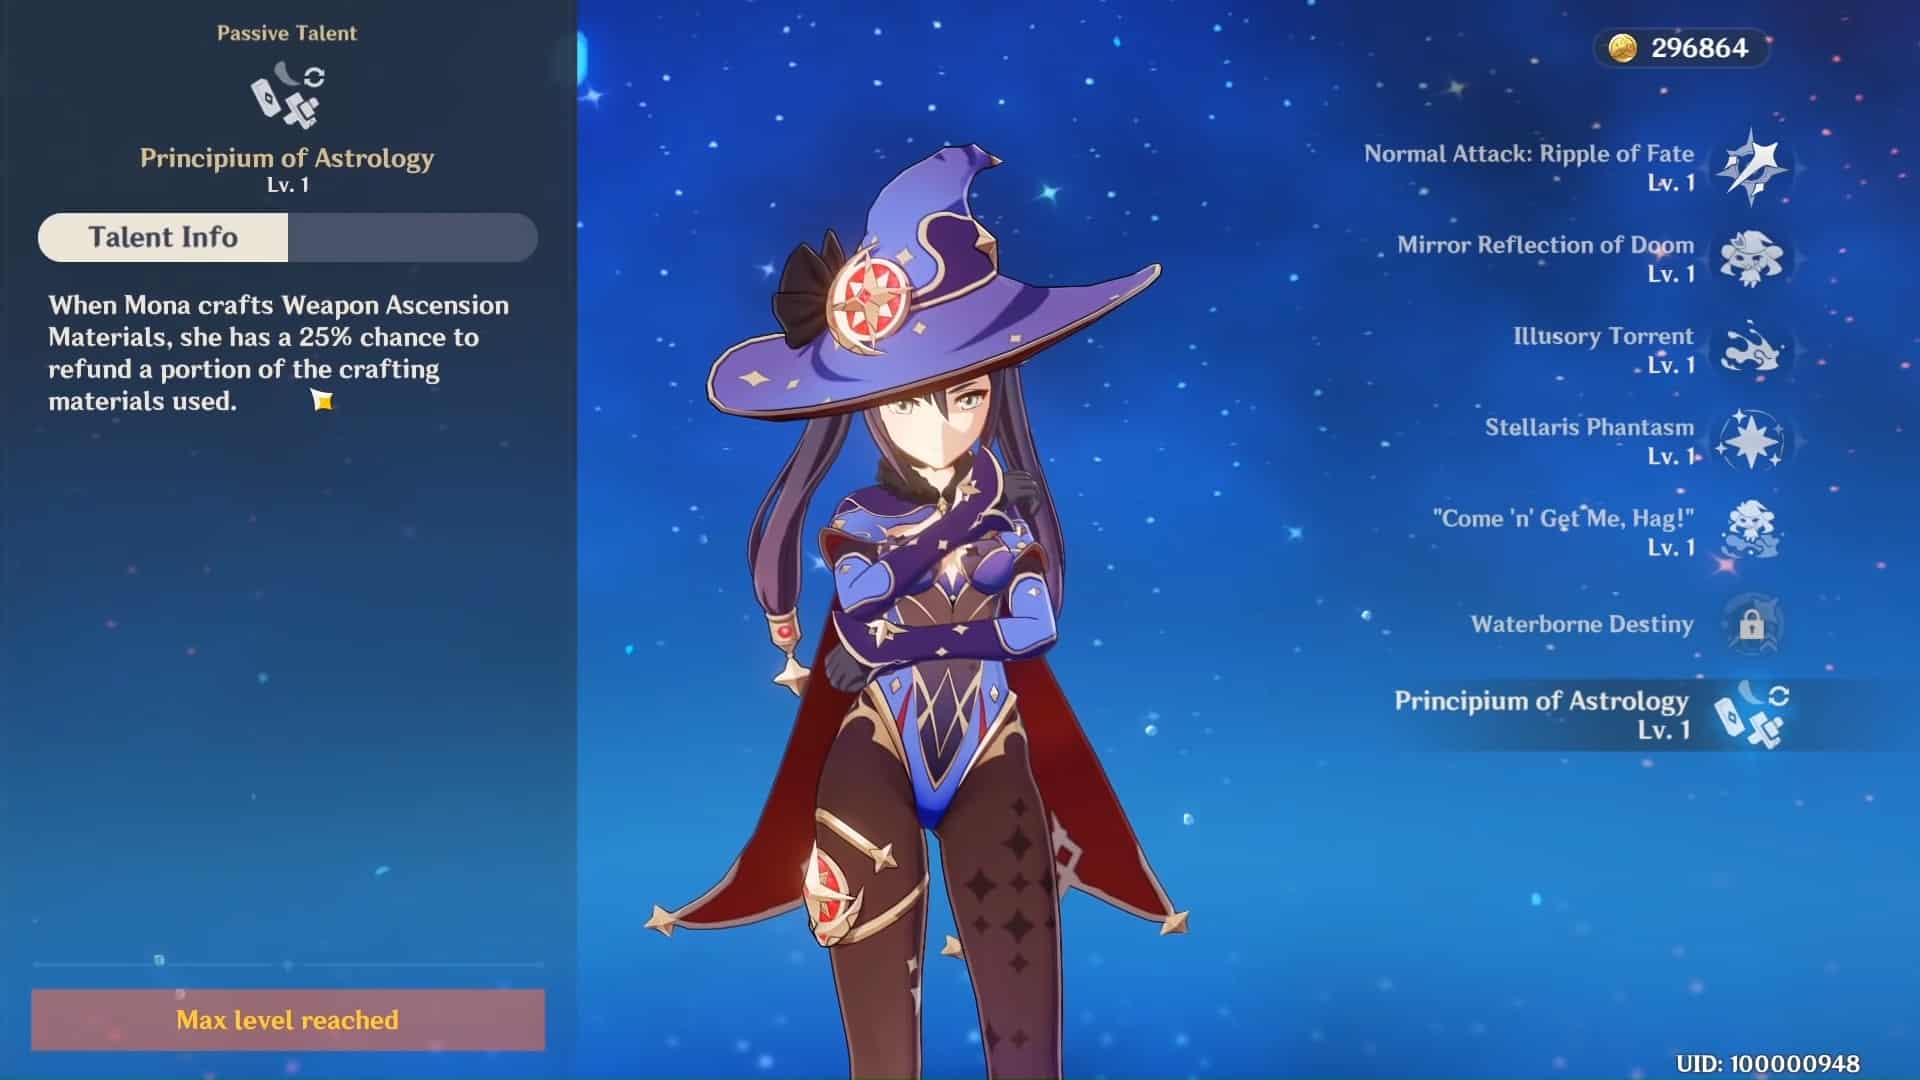
With a 25% chance of refunding Weapon Ascension Materials, Mona’s talent is slightly worse than Albedo and Ayaka’s, giving a 10% bonus. This is due to the 9.1% bonus that she provides depending on the tier of material being crafted.
Talent level-up and Ascension materials
Mona, originally from Mondstadt, requires some materials that can only be found in her homeland. These include Philameno Mushrooms sprouting on buildings across the city center and other residential areas in Mondstadt.
She also needs Whopperflower Nectar, like a bee collecting honey; instead, you get it by killing (unsurprisingly) Whopperflowers. Lastly, she has to have the Ring of Boreas legendary material for her Talent Level-Up from Andrius, the wolf boss of Wolvendom.
However, to farm Cleansing Hearts, you’ll need to travel into Liyue, and the Oceanid boss is where you can find them. Below is a list of Mona’s Talent Level-Up and Ascension materials necessary to max her out.
| Talent Level-Up materials | |||
|---|---|---|---|
| Talent Level-Up Materials | Teachings of Resistance x9 | Guide to Resistance x63 | Philosophies of Resistance x114 |
| Common Ascension Materials | Whopperflower Nectar x18 | Shimmering Nectar x66 | Energy Nectar x93 |
| Weekly Boss Materials | Ring of Boreas x18 | ||
Ascension materials:
| Ascension Level | Mora Cost | Materials | |||
|---|---|---|---|---|---|
| 1 | 20,000 | Varunada Lazurite Sliver x1 | – | Philameno Mushroom x3 | Whopperflower Nectar x3 |
| 2 | 40,000 | Varunada Lazurite Fragment x3 | Cleansing Heart x2 | Philameno Mushroom x10 | Whopperflower Nectar x15 |
| 3 | 60,000 | Varunada Lazurite Fragment x6 | Cleansing Heart x4 | Philameno Mushroom x20 | Shimmering Nectar x12 |
| 4 | 80,000 | Varunada Lazurite Chunk x3 | Cleansing Heart x8 | Philameno Mushroom x30 | Shimmering Nectar x18 |
| 5 | 100,000 | Varunada Lazurite Chunk x6 | Cleansing Heart x12 | Philameno Mushroom x45 | Energy Nectar x12 |
| 6 | 120,000 | Varunada Lazurite Gemstone x6 | Cleansing Heart x20 | Philameno Mushroom x60 | Energy Nectar x24 |
Constellations
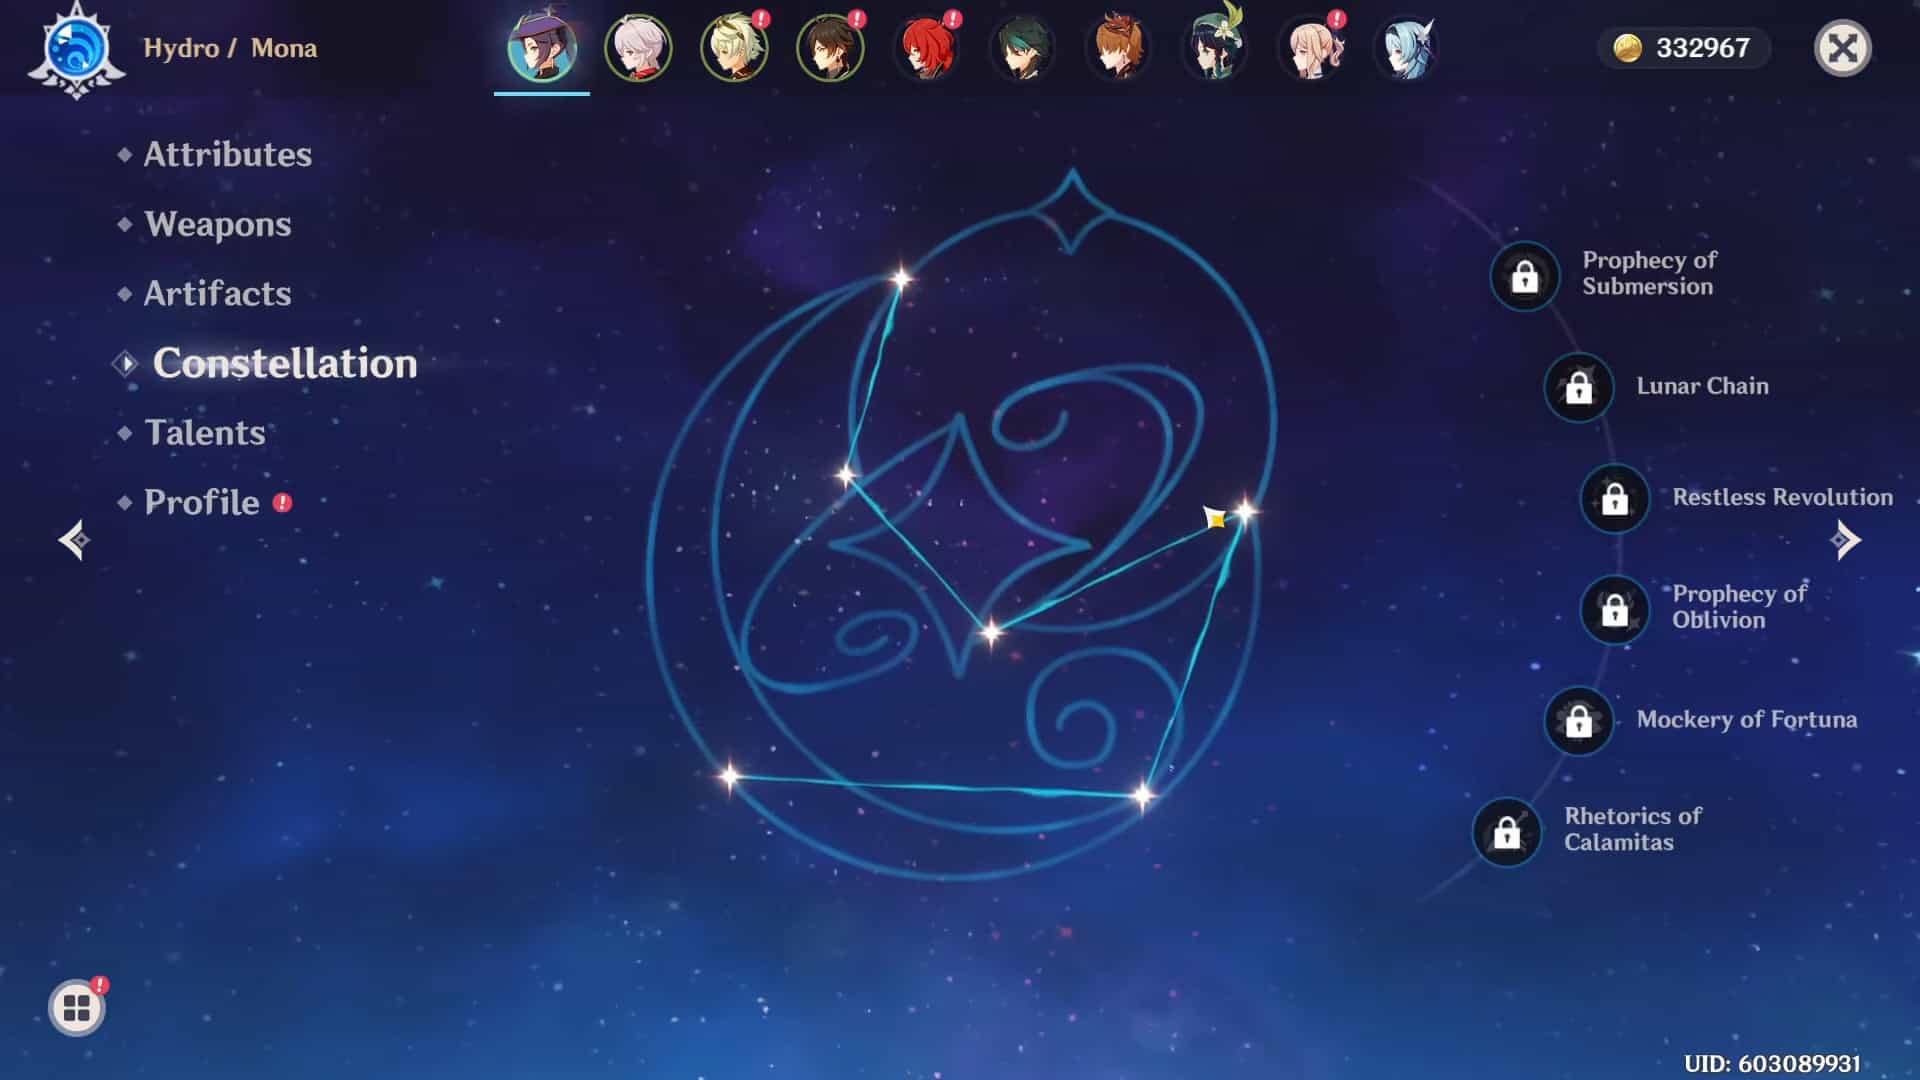
Let’s take a closer look at Mona’s Constellations. It is a sequential upgrade to characters, similar to their passive talents, which helps to create the best Mona build. They increase the character’s effectiveness or add new capabilities to existing abilities. Heroes have a total of 6 constellation levels.
C1 – Prophecy of Submersion
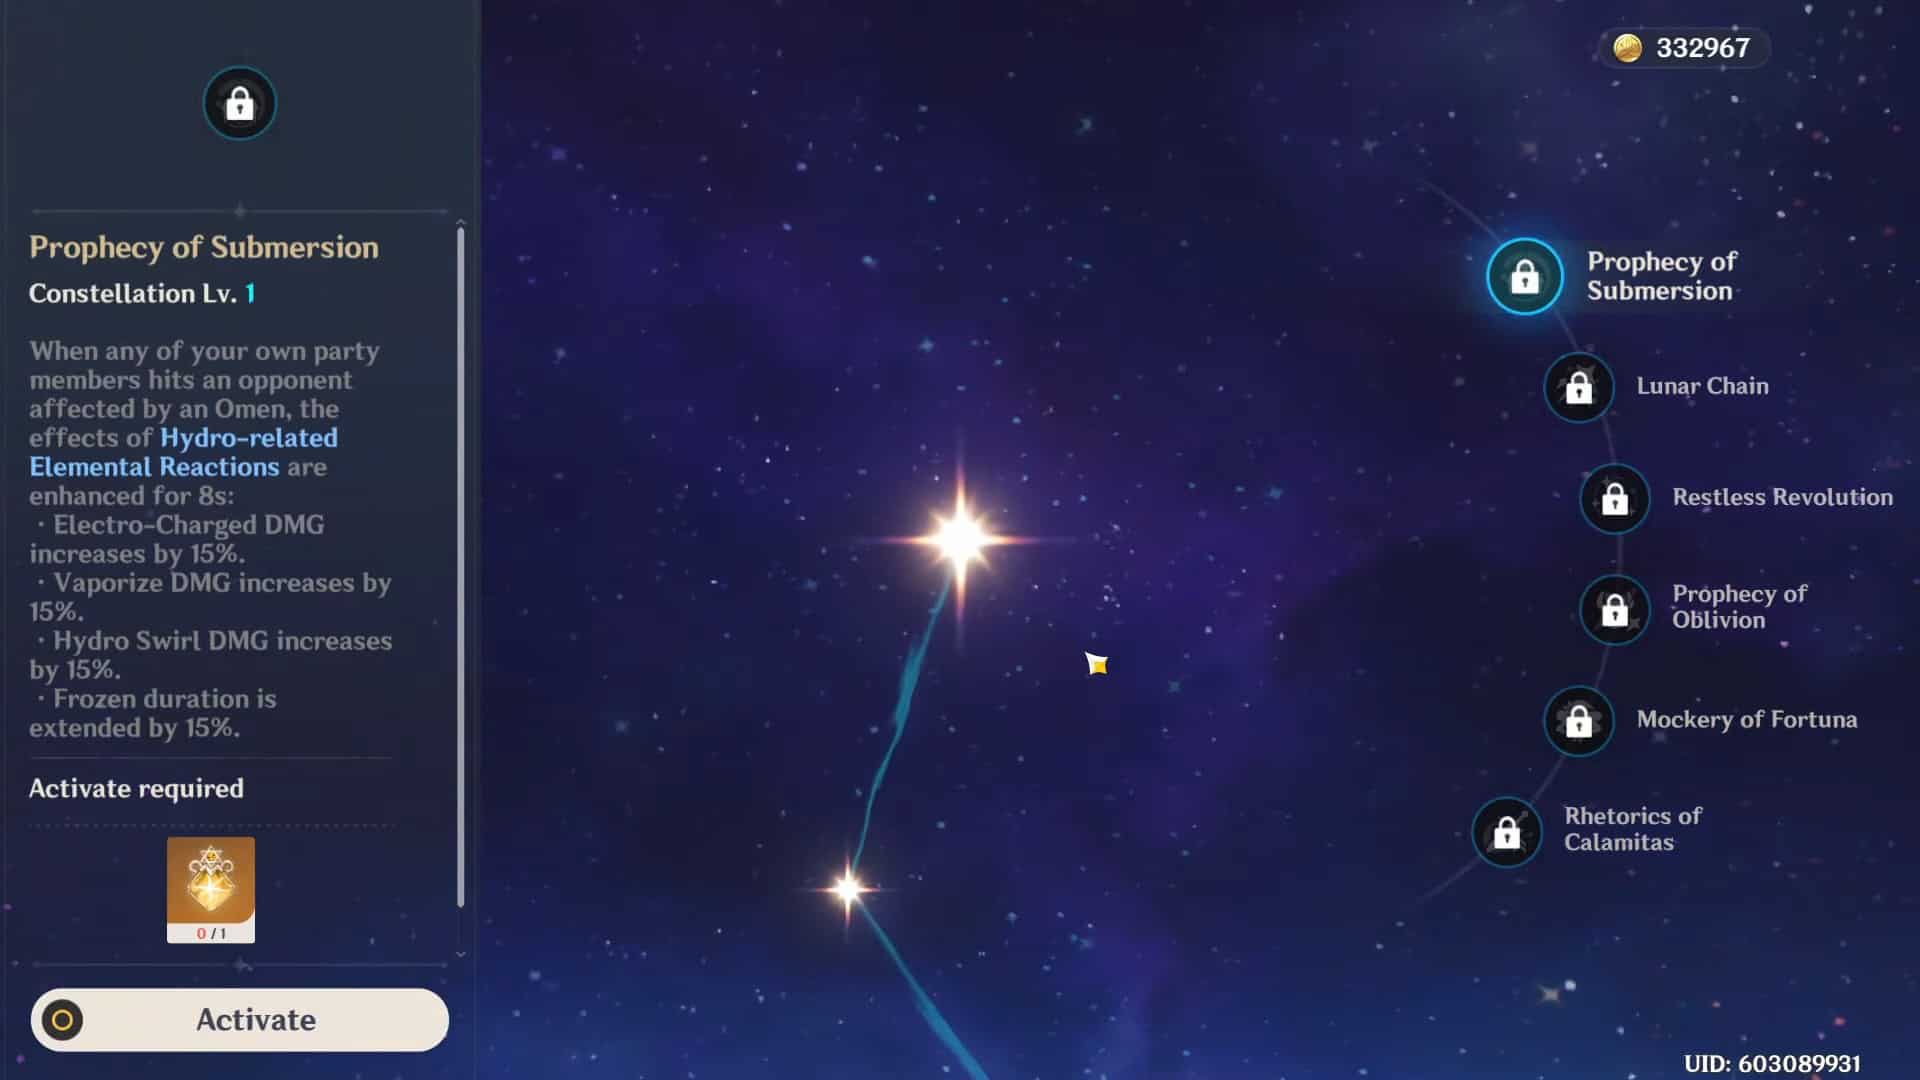
For 8 seconds, hydro-related elemental reactions deal extra damage to enemies who are inflicted with the Omen Damage Percentage Buff:
- Electro-Charged will now deal 15% more damage.
- Vaporize DMG is elevated by 15%. This does NOT work for Elemental Burst to the injury when dealing with a single target. Although, it does help in multi-target scenarios. Also, after the first Bubble is popped, additional bubble pops will get the Reaction bonus.
- Using Hydro Swirl now will give you a 15% bonus to DMG.
- After the Bubble is popped, the duration of freezing enemies is increased by 15%.
C2 – Lunar Chain
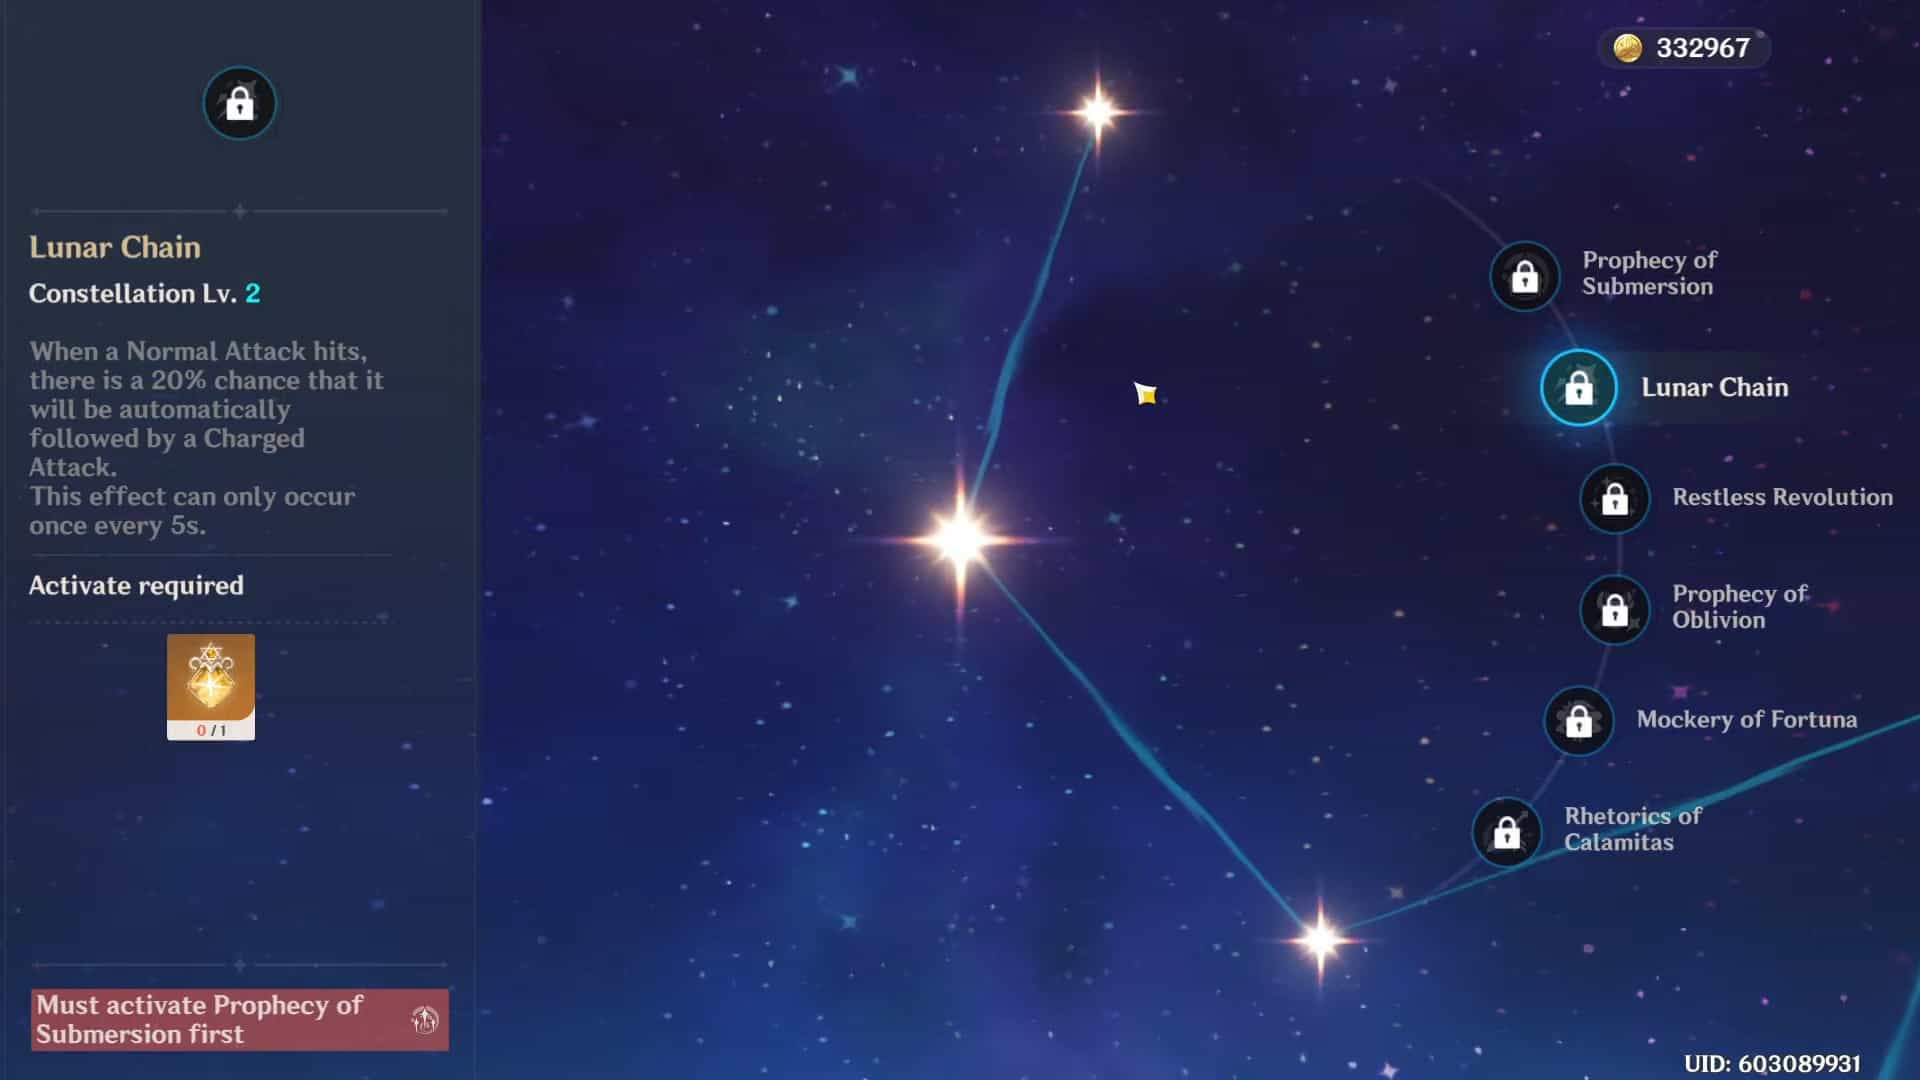
There is a 20% chance that when a Normal Attack hits, it will be followed by a Charged Attack. This automatic Charged Attack does not consume stamina but cannot be used to double vaporize an enemy inflicted with Pyro.
C3 – Restless Revolution
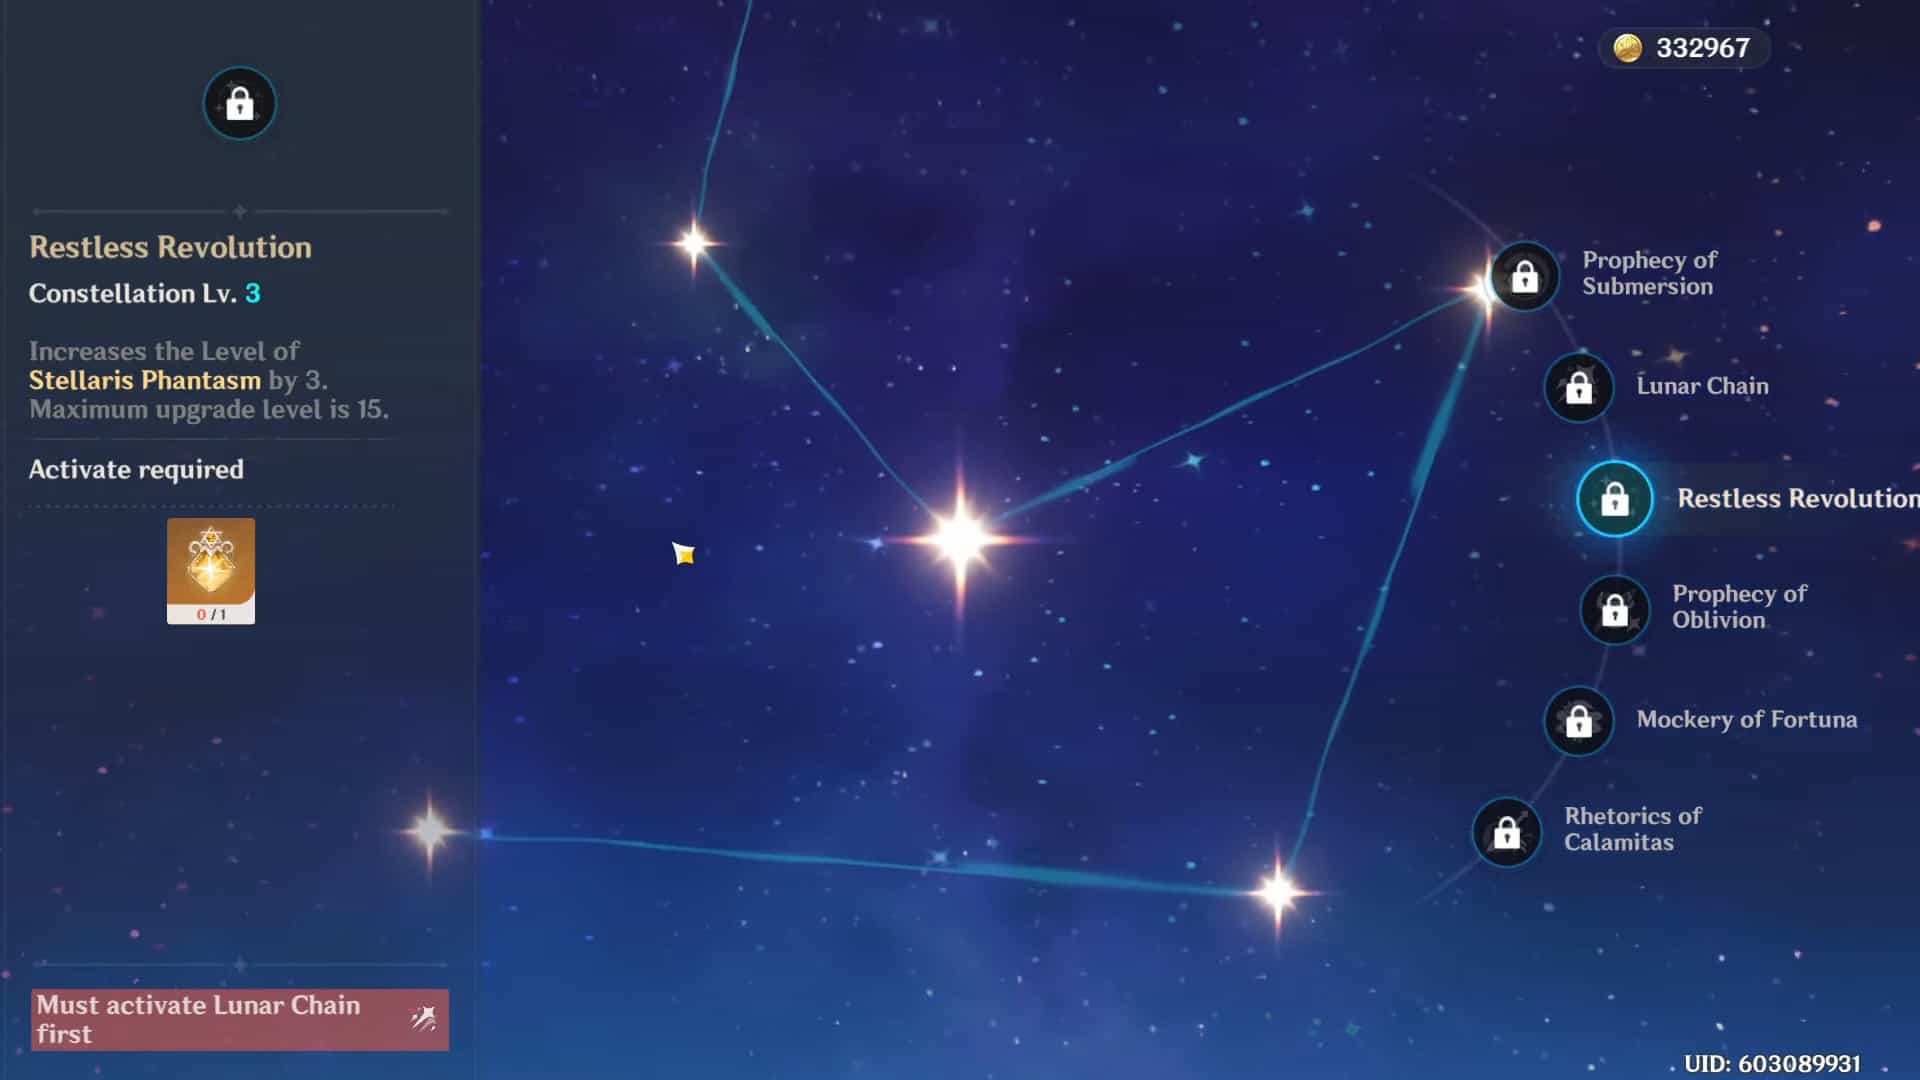
This will increase Elemental Burst (Stellaris Phantasm) by 3, with a maximum upgrade level of 15. Additionally, it boosts Elemental Burst Damage.
C4 – Prophecy of Oblivion
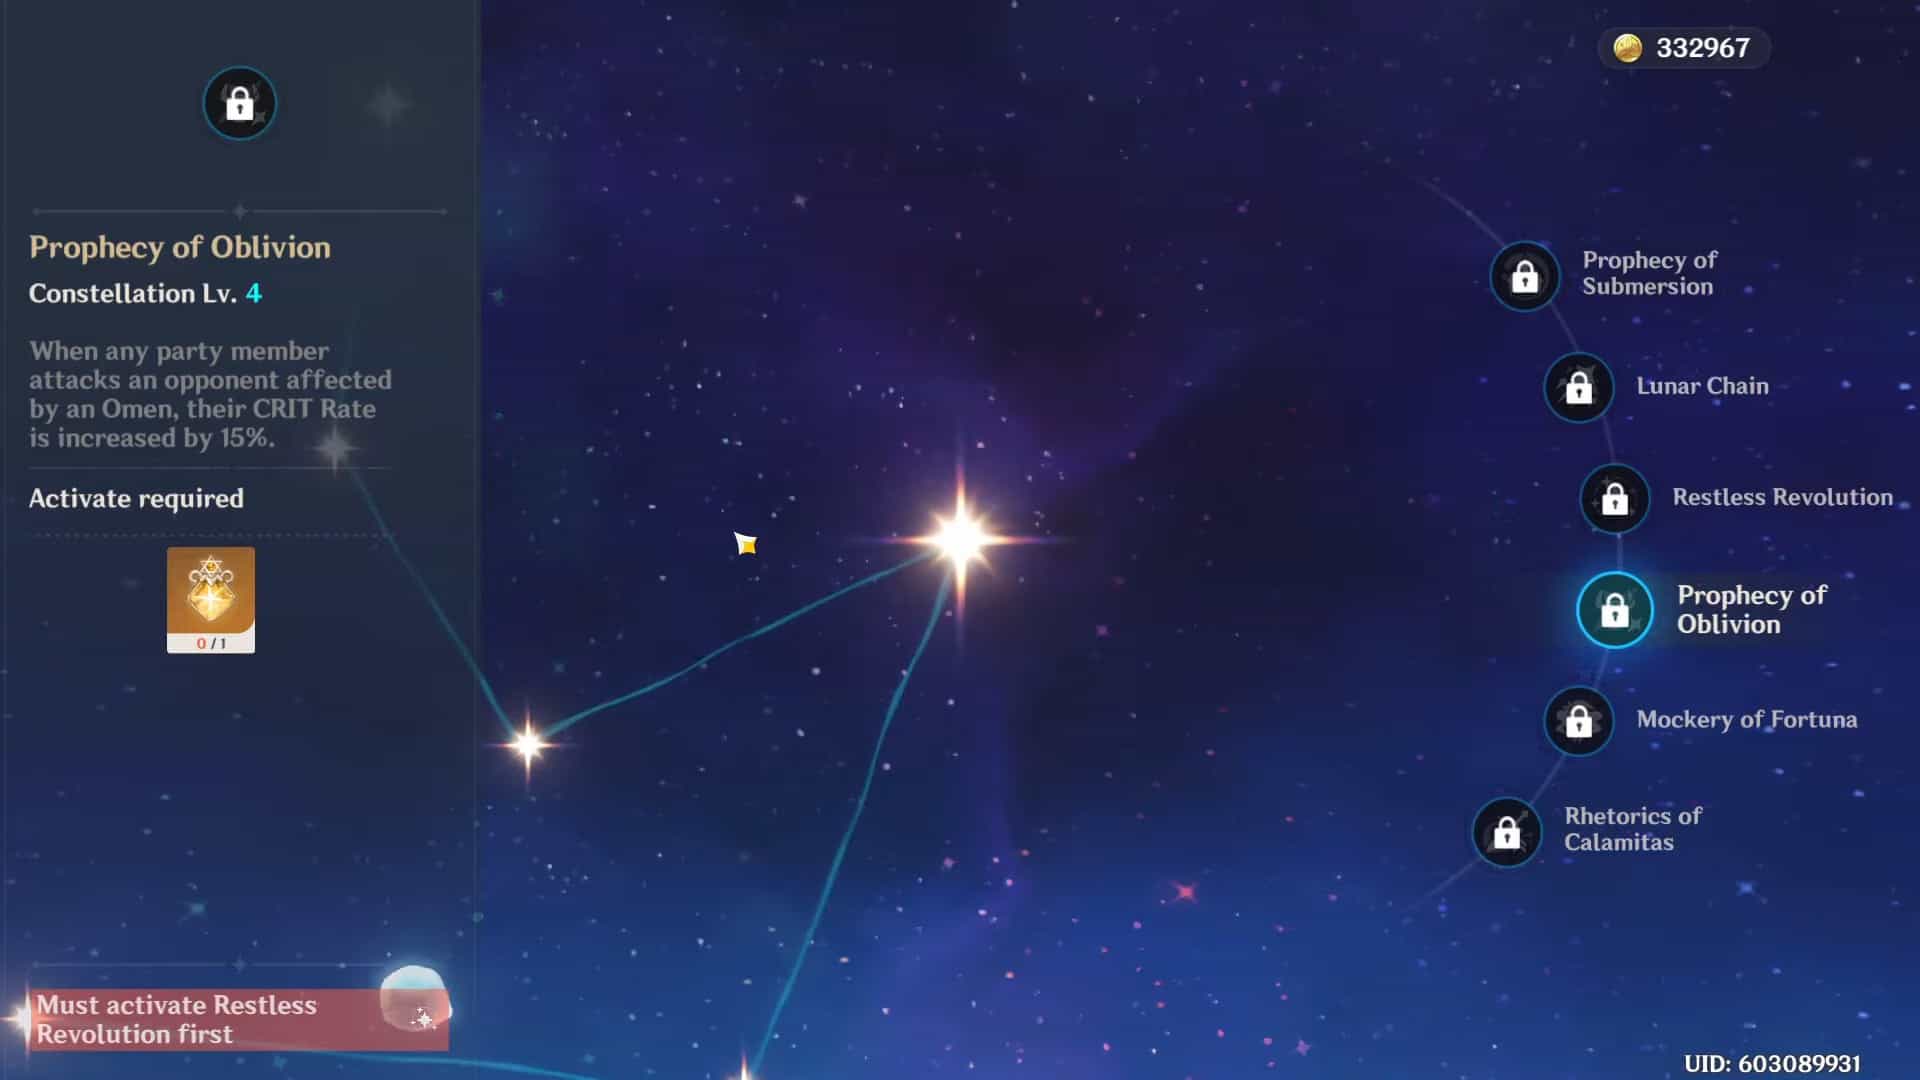
If you have a character that attacks enemies afflicted by the Omen DMG% Buff, they will gain a 15% Crit Rate. This is especially useful in Freeze comps to help round up this rate closer to 100% and allows Cryo characters to stat even more aggressively.
With the first buff extensions in a Freeze team, you can simultaneously maintain 73.3 – 86.6% uptime on both buffs. Mona can also take advantage of this 15% Crit Rate increase.
C5 – Mockery of Fortuna
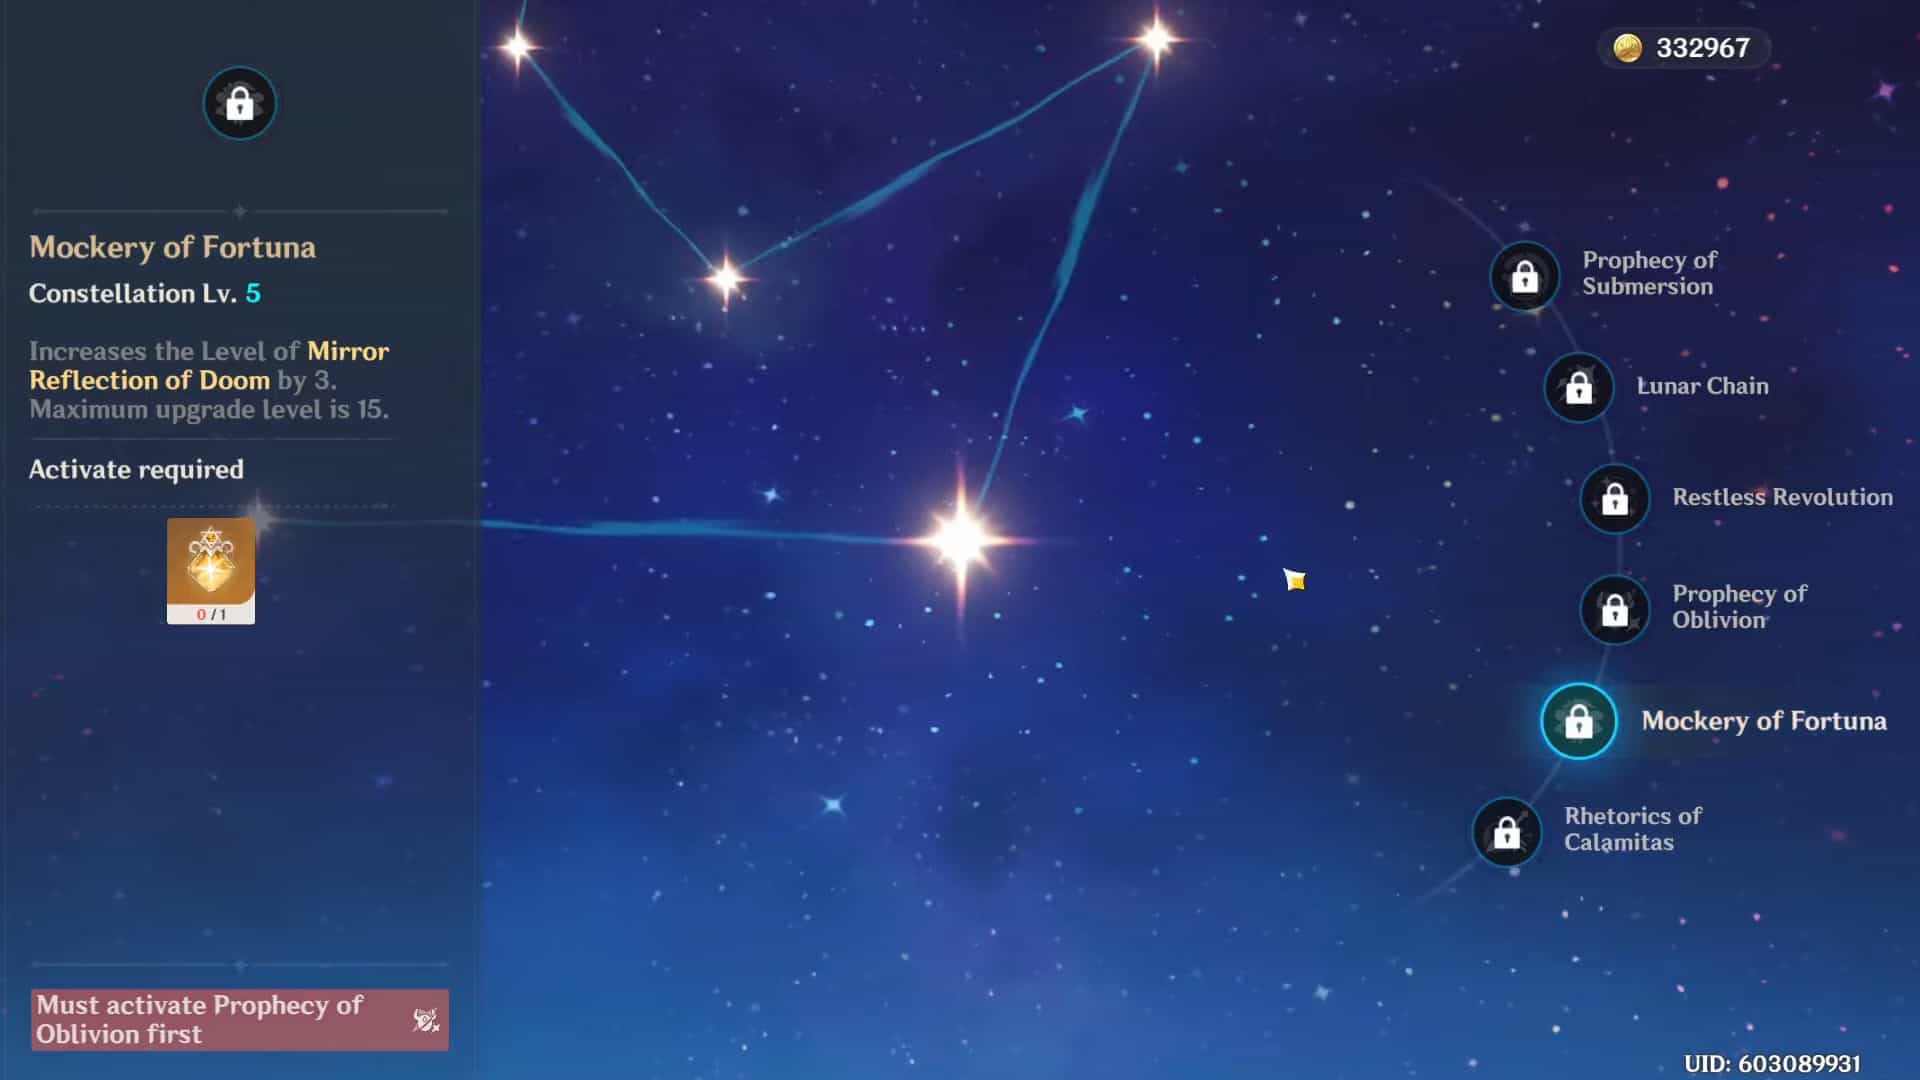
Up the Level of Mirror Reflection of Doom by 3. The most it can be upgraded is 15.
C6 – Rhetorics of Calamitas
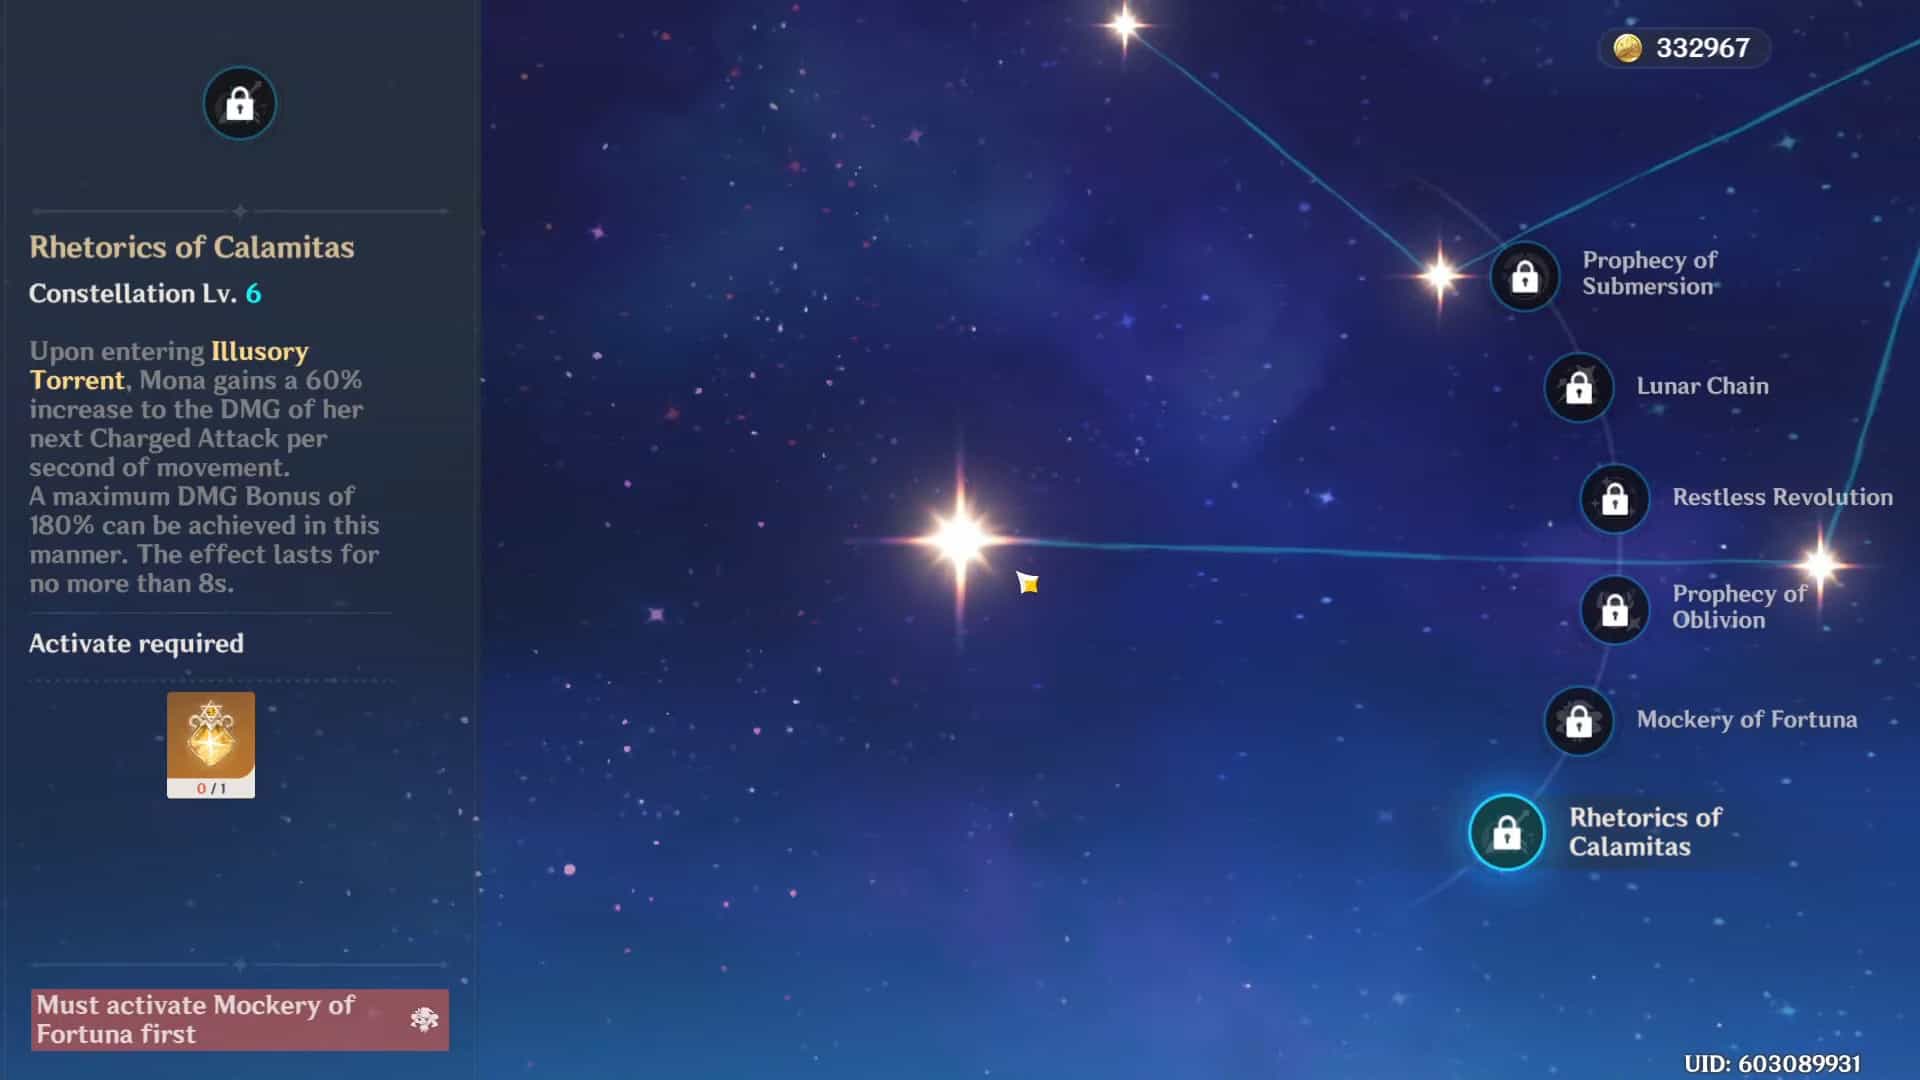
Charged Attack Damage increases by 60% every second she is in Illusory Torrent, with a cap of 180%. Note that this only occurs in full seconds – for example, you will gain the first stack of damage one full second after Mona enters Illusory Torrent, and the effect lasts for 8 seconds at maximum.
Currently, there is little use for this Constellation, given its gimmicky nature.
Playstyle
Mona can either deal damage or support her team by using Hydro, which applies a debuff that deals increased damage to enemies afflicted by Omen.
DPS
Vaporize, and Electro-Charged abilities make her a strong DPS for any in-game situation.
Vaporize Comp
There are two ways to play Vaporize: a sustained damage source or a burst damage nuke.
Sustained damage
The sustained damage Vaporize team is typically made up of Mona, Bennett, Xiangling, and an Anemo character of your choosing. This squad resembles groups focusing on burst damage/nuking since it often uses the ‘Perfect Combo.’
However, the Burst/Nuke team emphasizes vaporizing Mona’s Burst. While her Burst may still be subject to being vaporized in an SSDVT setting, -the hydro application is focused on a bit more.
She may also set off reactions with her Elemental Skill from time to time in addition to Normal and Charged attacks. The team of Mona, Ningguang, Beidou, and Xiangling can be seen as a replacement for Childe on the ‘Childe Vaporize’ team.
With that in mind, both teams have a very high skill ceiling; however, being knowledgeable about Elemental Auras, Internal Cooldowns, and the Omen Extension mechanic will help the team reach its maximum potential.
Additionally, Mona has the perk of being able to shoot from the range with her Catalyst. If you are not fond of Childe’s Stance change mechanic’, playing this version of a Vaporize team may be more up your alley.
She strengthens Xiangling’s Hydropower by applying a Hydro aura to enemies, or she can use the Pyro application to Vaporize Charged Attacks. Though damage output may be reduced, many players succeed with a more relaxed approach that allows them to Vaporize enemies.
With enough investment into the team, you can clear Genshin Impact’s most challenging content.
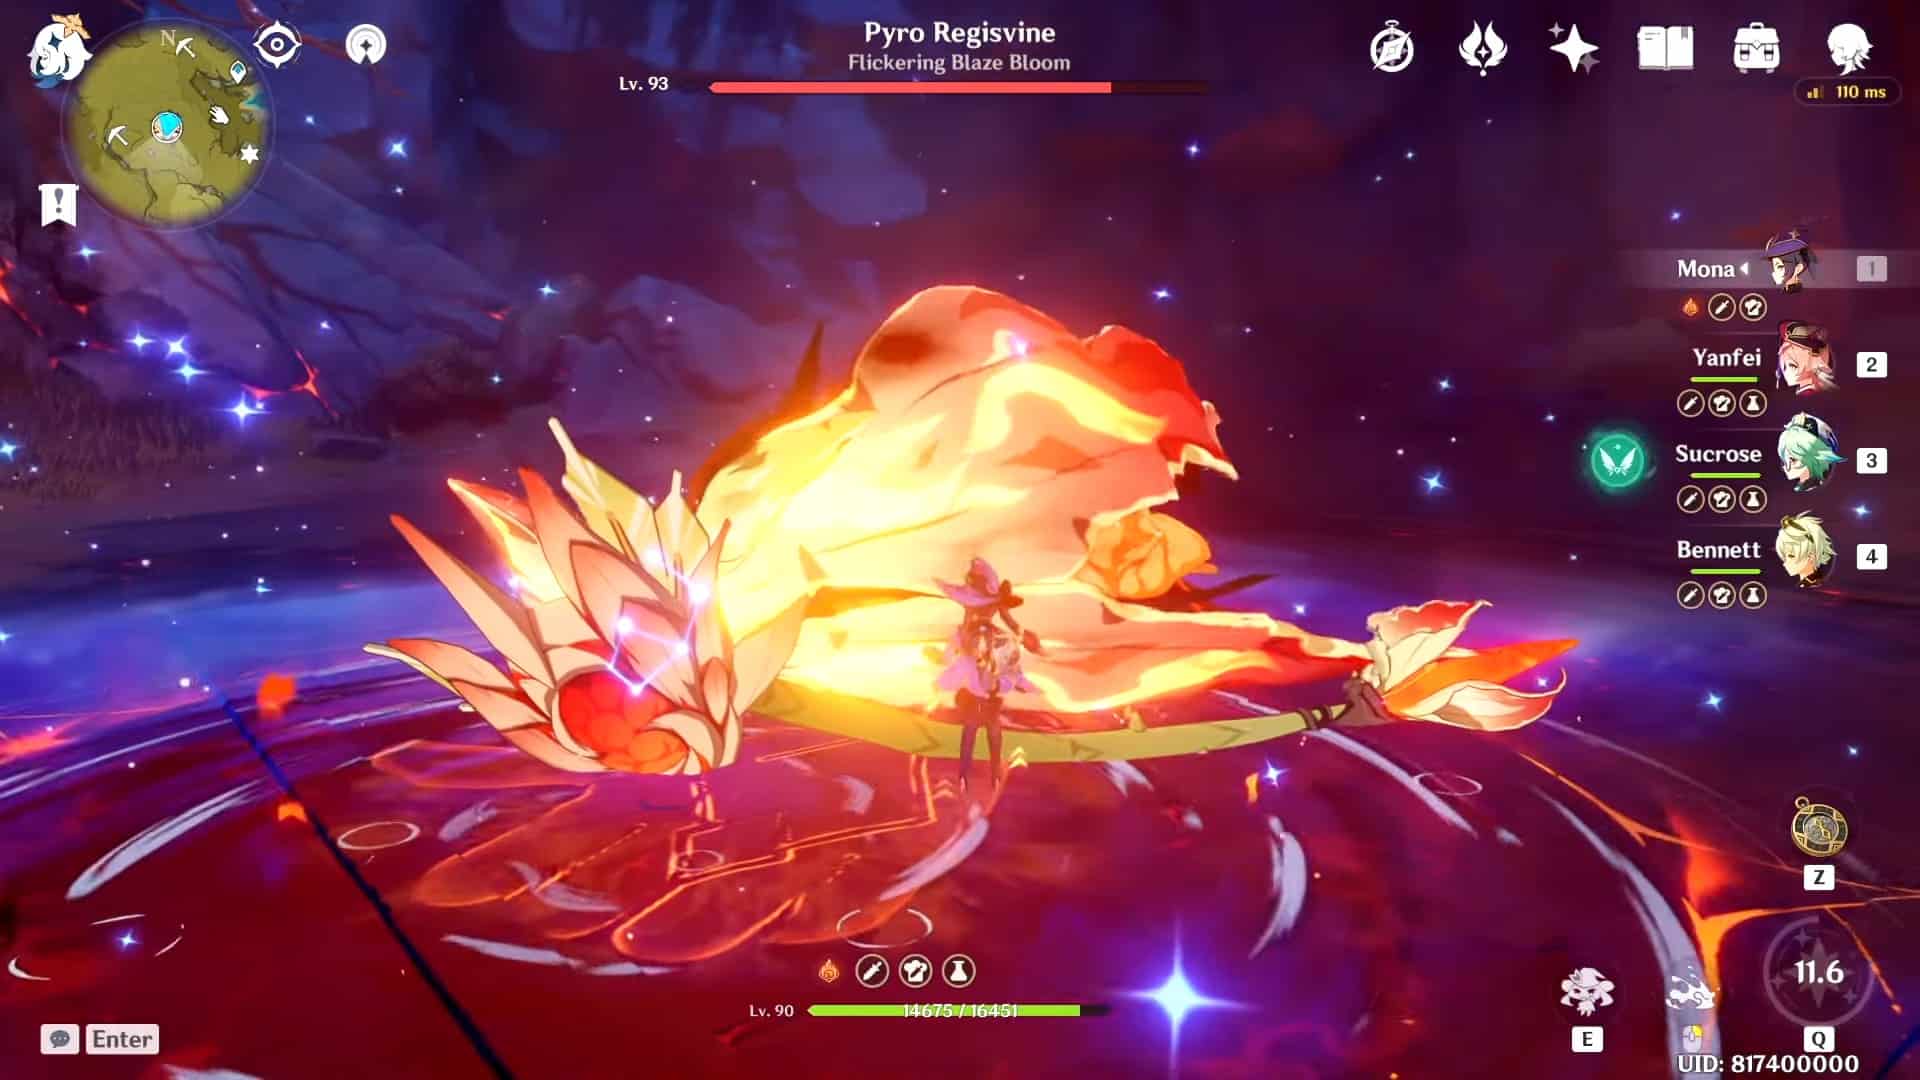
Burst damage/Nuke
The main objective for this team is to do as much damage as possible with ‘Perfect Combo.’ The group typically includes Mona, Bennett, Sucrose, and a fourth character that depends on the particular combo you want to use.
Remember that this team might need to work better on some types of content and has become less popular since Hu Tao and Eula were released (both have intense Elemental Bursts).
This team is helpful for farming overworld bosses because it allows you to deal damage quickly and avoid complicated boss mechanics. Many players use this team to defeat the Pyro Regisvine in one shot.
Electro-Charged (EC) Comp
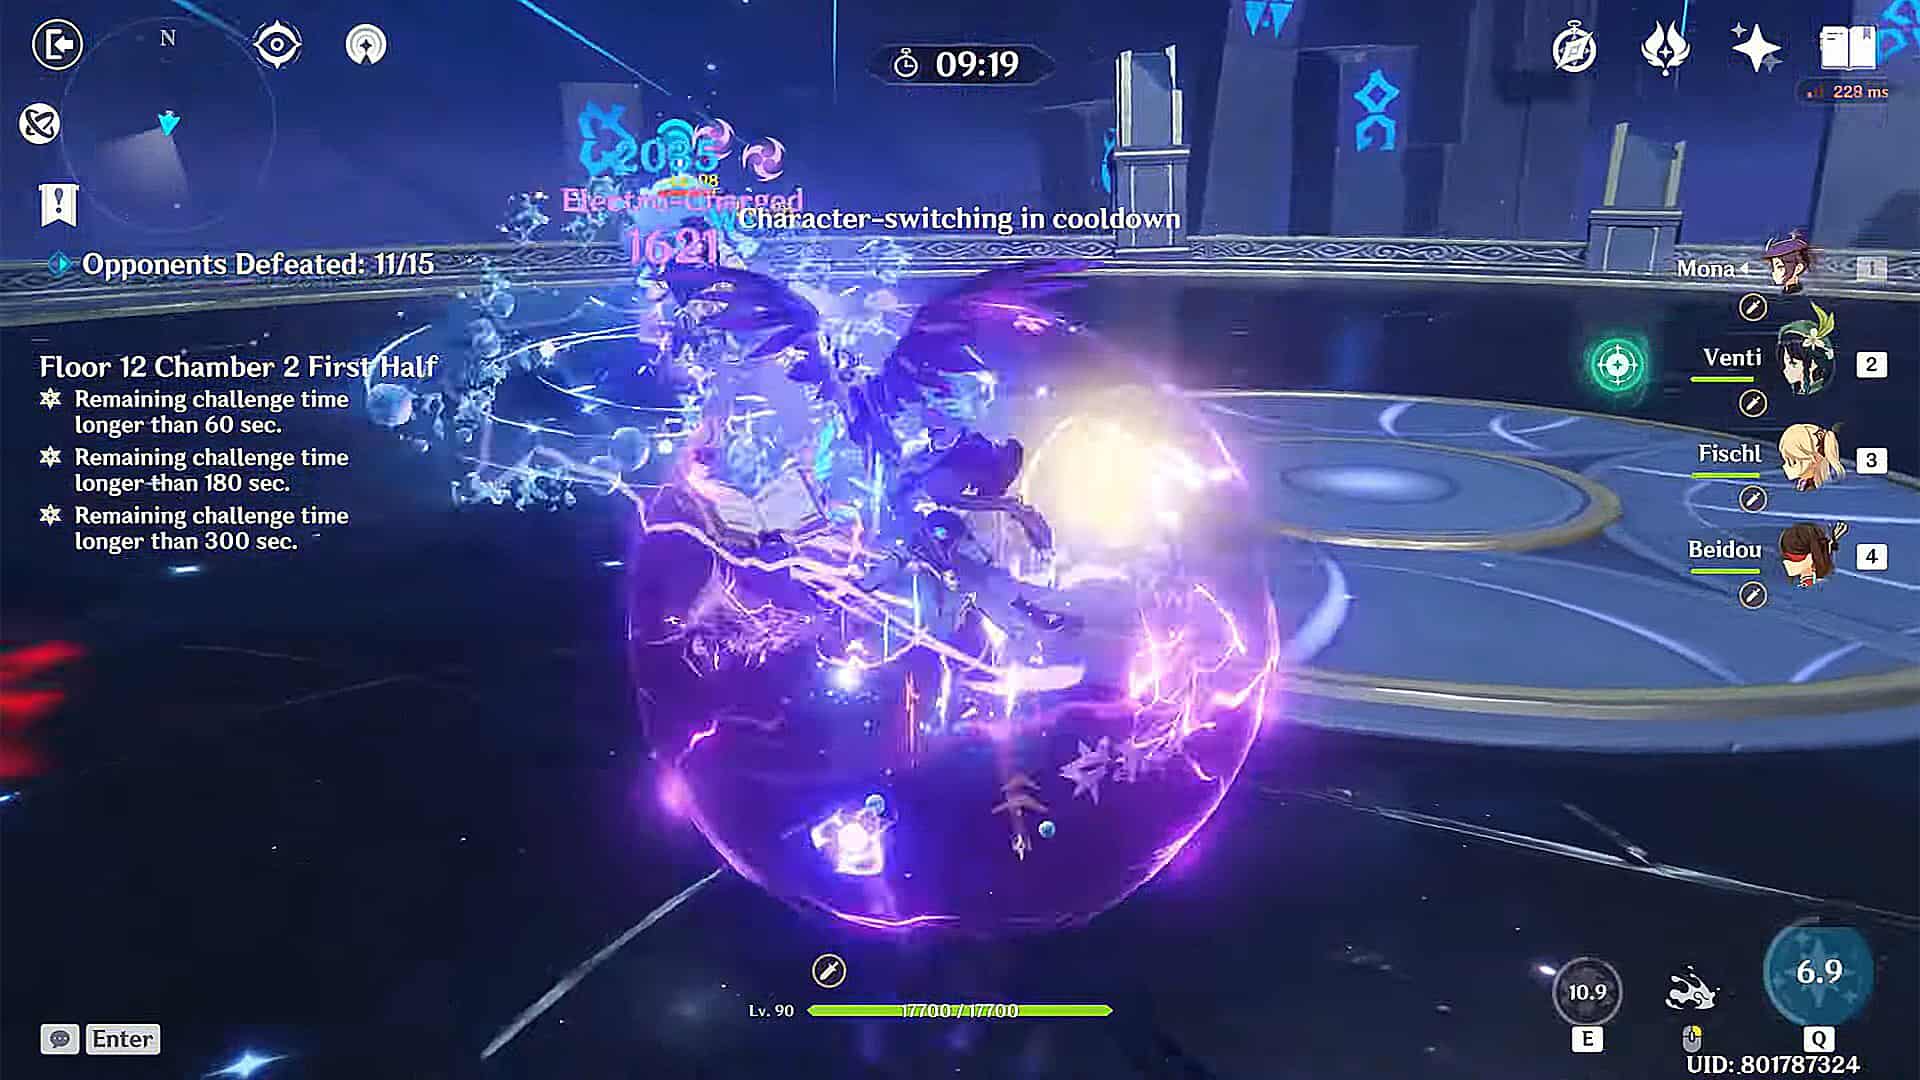
The EC comp relies on having an Electro support character applying Electro while not in direct combat. Mona is typically the enabler for this team, using her Hydro application to keep reactions electro-charged for long periods.
The core of this team is usually Mona plus the Fischl and Beidou characters that utilize Electro abilities. They work well together because Fischl damages a single target and helps “battery” Beidou perform optimum in multi-target scenarios.
It is recommended that you invest in Electro units first. They will be dealing with the most DMG, and since they can stun-lock enemies with their electro-charged attacks, she won’t have to worry as much about taking ranged damage.
Support
Mona has always been a great support character, and she has only improved with the release of new content. Her Omen DMG% buff abilities allow her to increase the damage output of your main DPS character on enemies who Omen afflicts.
ER requirements are higher when she is off-field, so it would be best to have Xingqiu on a separate team. Support skills complement Freeze comps because they can extend the Omen, which better utilizes her Omen DMG% buff.
She works best on teams with amplifying Reactions but can also hold her own on teams without them – mainly if those teams can deal with a large amount of DMG in a short time frame. Some examples of these types of team dynamics include Freeze teams and Raiden hyper-carry teams.
In Quickswap teams, you can use Elemental Skill before her Elemental Burst, allowing you to animation-cancel part of her skill. Alternatively, you can use her Elemental Burst before the skill to maximize the buff’s duration for your team.
However, Freeze teams should cast Elemental Burst first and then her talent. Doing so will lead to more Hydro applications while the rest of the group is on-field. If not, long burst animation would take up time unnecessarily when Hydro is being applied.
Freeze Comp
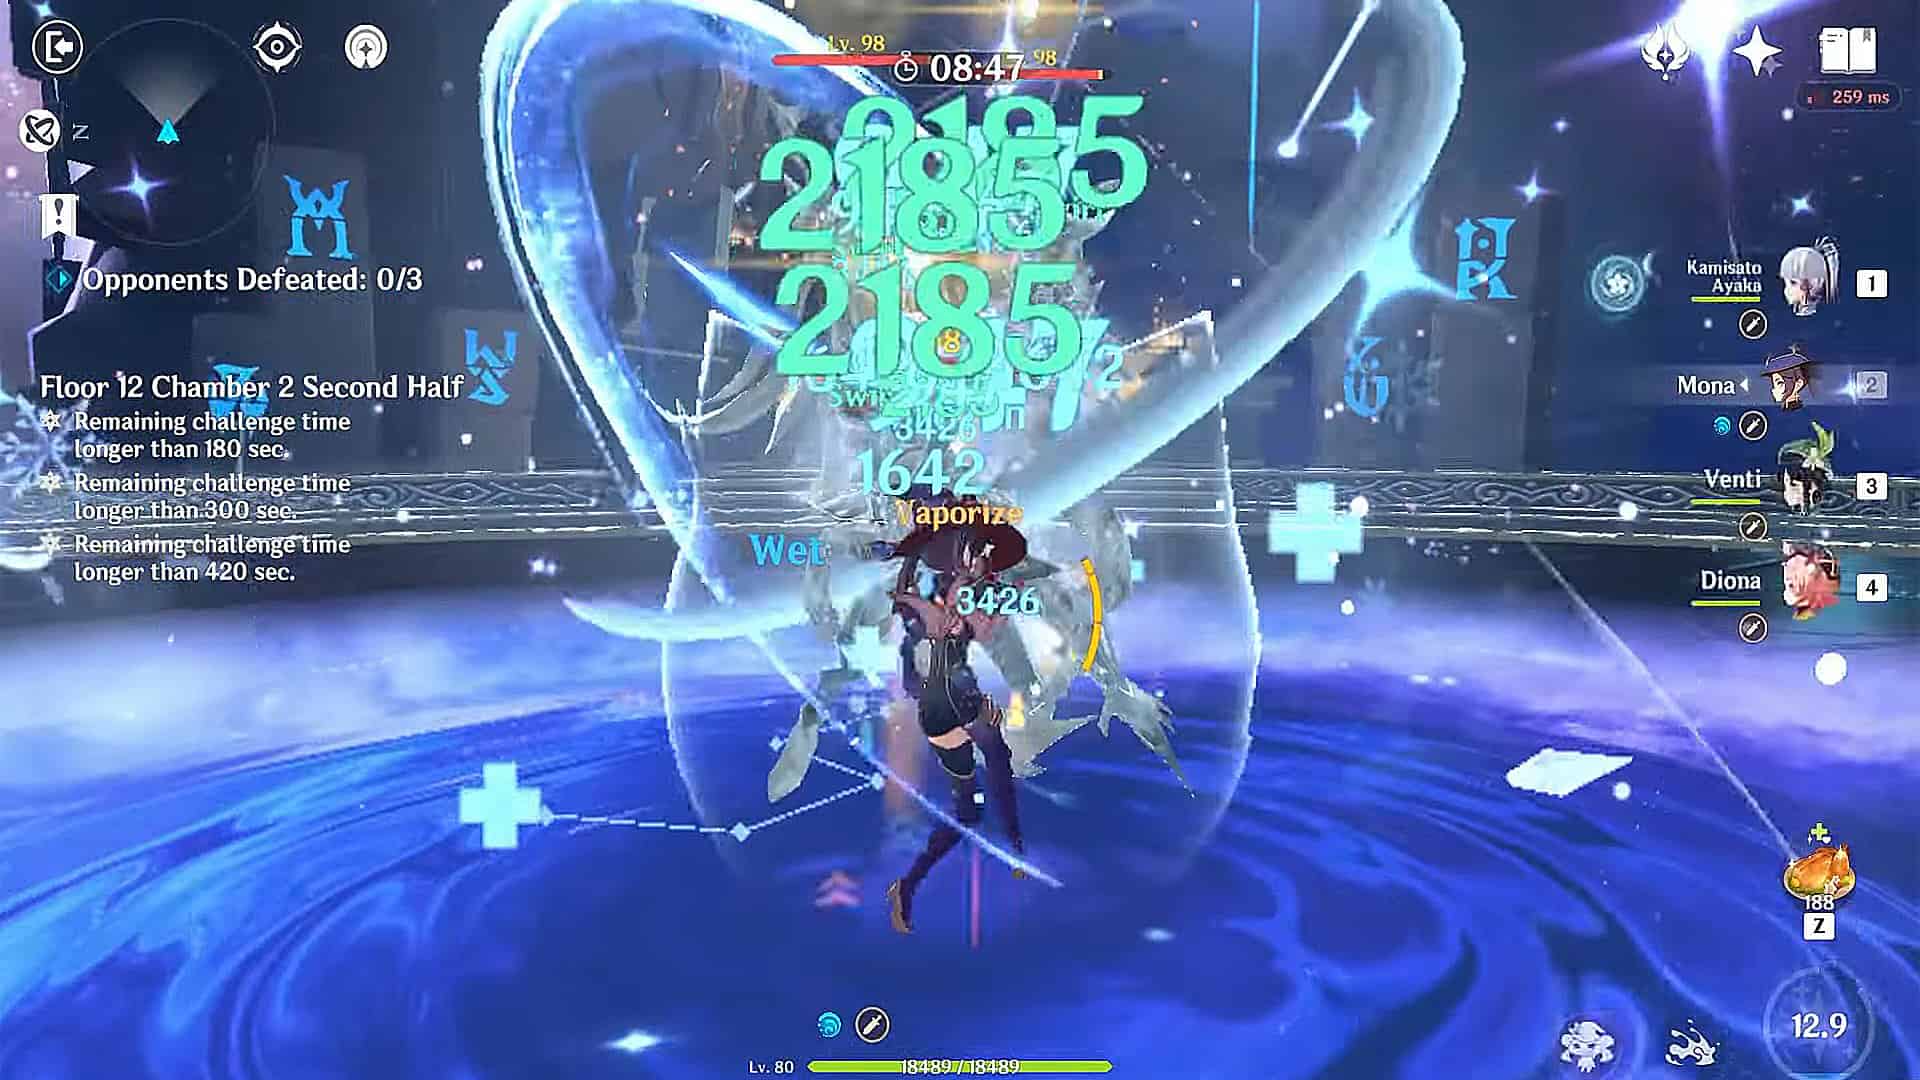
The primary focus of this team is to freeze enemies with Hydro and a Cryo DPS to immobilize them and permanently freeze them. This playstyle focuses on prolonging the duration of the Omen DMG% buff by keeping enemies frozen in the bubbled state.
Doing so prevents Illusory Bubble from bursting, allowing for damage during this window to gain the benefit of Omen DMP% buff without having to restart the timer. It would be best if you used Cryo BEFORE casting Elemental Burst.
Launching the Elemental Burst first will pop the Bubble, and Cryo will have no effect. We are using the Illusory Bubble status to extend Mona’s Omen DMG% Buff. When frozen, the Bubble lasts ~6 seconds before the frozen level wears off and pops the Bubble.
However, by managing elements well (by reapplying Cryo and Hydro regularly), one can ensure that the buff lasts for 8 seconds instead. Mona can buff the Omen DMG% for approximately 11 to 13 seconds out of 15 seconds, given the cooldown of her Elemental Burst.
With good ER% and Energy Particle production, she can provide up to 60 percent DMG at a 73.3 to 86.6 percent uptime. Priority in Freeze comps is to have enough Energy Recharge so that she can use the Elemental Burst skill more frequently.
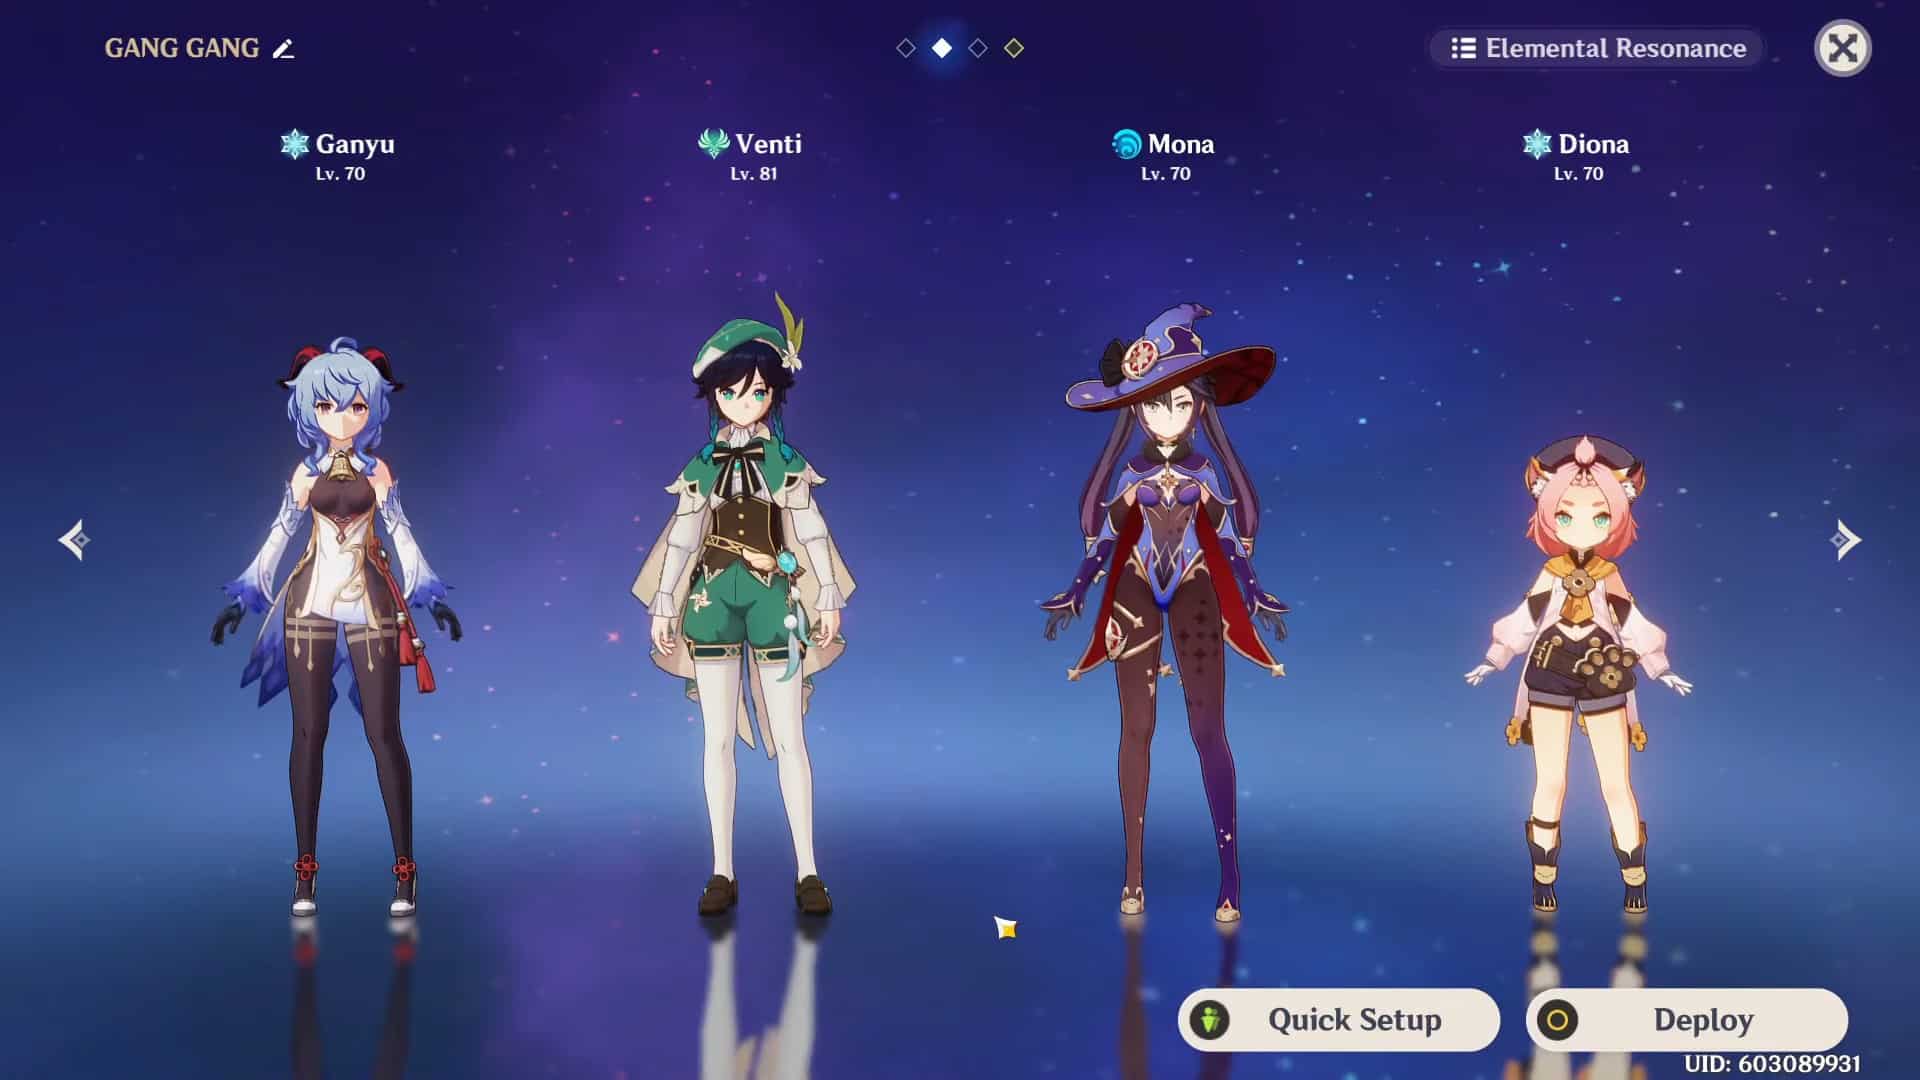
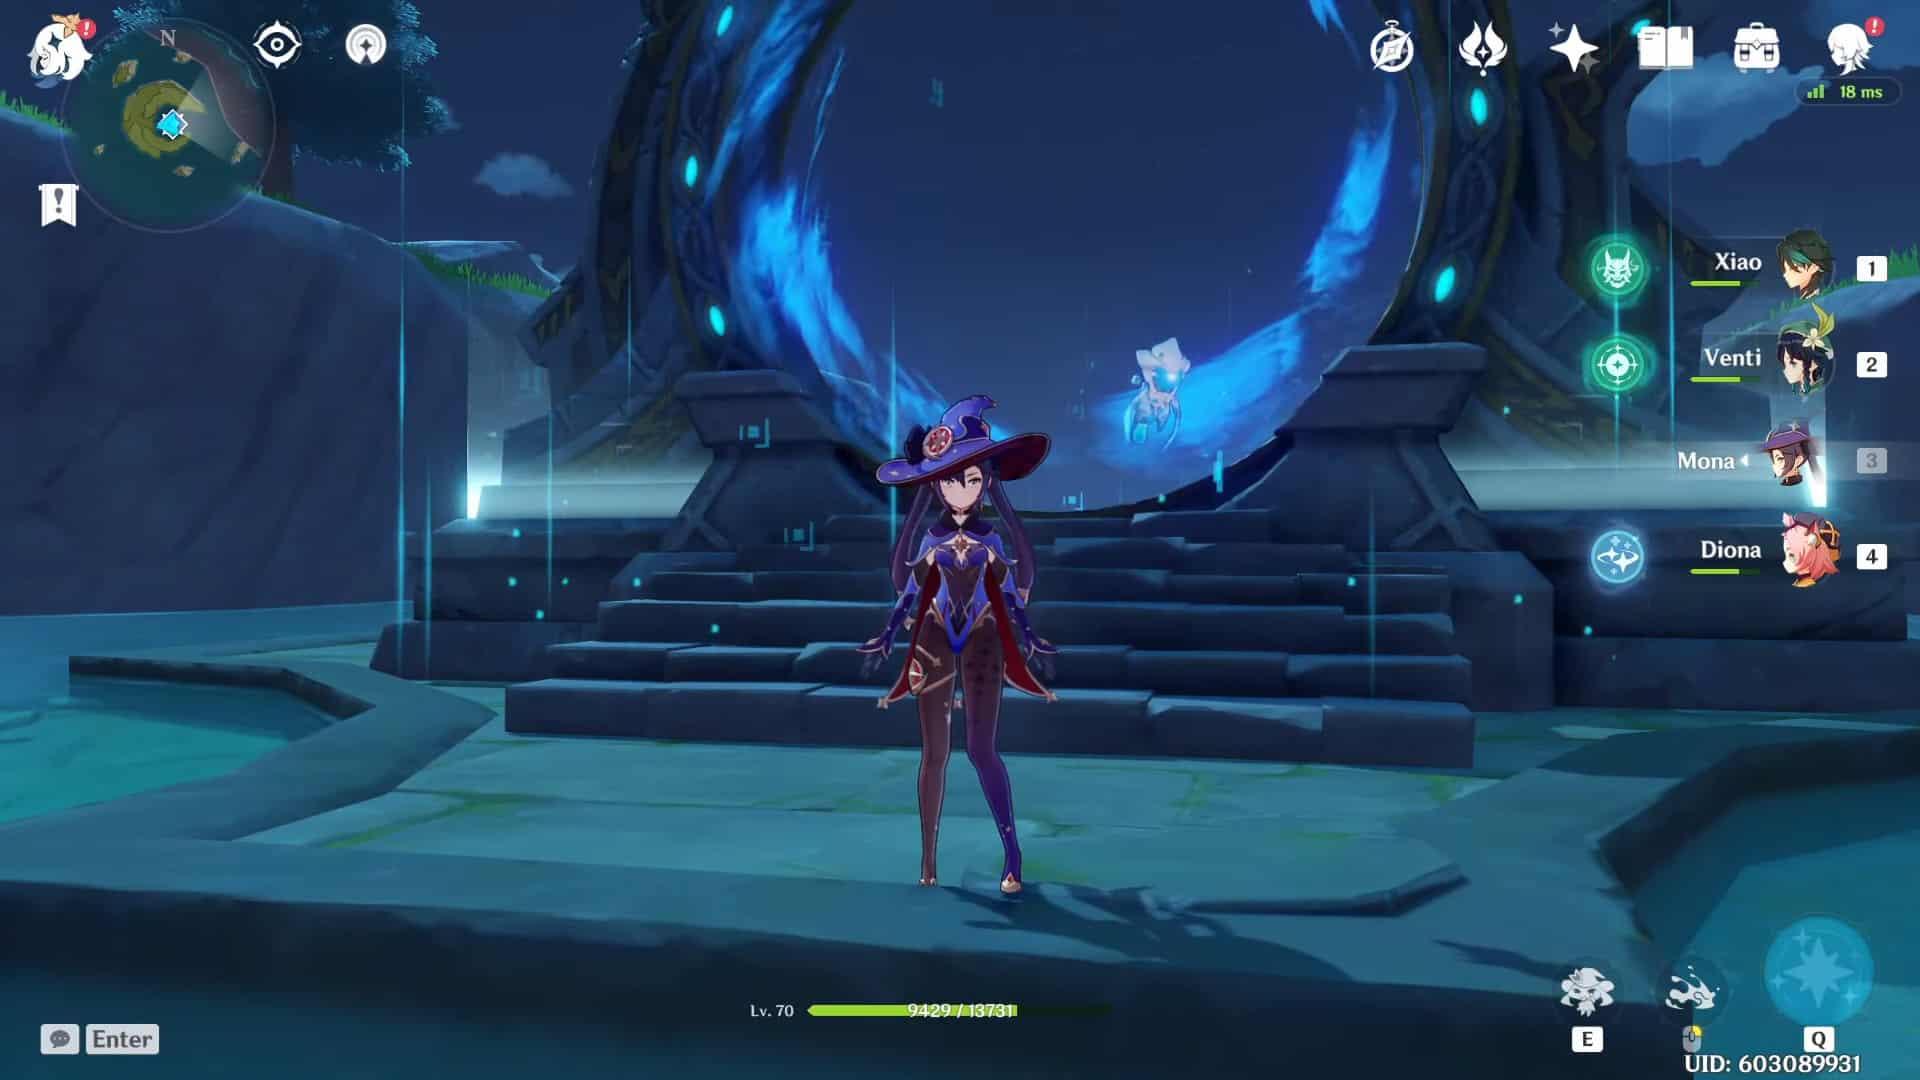
For example, in a Ganyu Freeze team (which typically includes Ganyu, Mona, Venti, and Diona), the ER% requirements for she can be pretty high since Mona mainly collects Energy Particles while not on the field.
With each team member using their Elemental Skill once per rotation and clearing 3 Particles from enemies, she would still need 303 ER% with one additional Favonius weapon trigger (256 ER% with two triggers or 222ER% with three triggers).
Freeze comps work best in situations with more enemy Particles, which will lower the Energy Recharge requirements. You should test your rotations in either domains or the Spiral Abyss.
Depending on different factors such as team composition, course, investment level, and Energy generation – as well as the content you are facing – ER% can change significantly (anywhere between 200-300 ER%).
If she can provide sufficient Energy for your rotation needs, then TTDS can be used instead of Favonius Codex.
Team Composition
Now that you know what playstyle you want to adopt for Mona, it’s time to think about which friends you would like to take with you on your journey.
| Character | Element | Weapon |
|---|---|---|
 Bennett Bennett |
||
|
||
 Klee Klee |
||
|
||
 Sucrose Sucrose |
||
|
||
 Fischl Fischl |
||
|
||
Vaporize (Sustained Damage)
First and foremost, Bennett and Xiangling are Pyro characters necessary for the team to deal enough damage. Secondly, Bennett provides an ATK buff which helps with executing the ‘Perfect Combo,’ as well as serving as a battery for Xiangling.
The last slot on most teams is typically Anemo support, and Kazuha and Sucrose are the most common because of their buffing and crowd-control abilities. Of the two, Kazuha has an easier time getting Pyro absorption on his Elemental Burst due to how his Elemental priority works.
Venti is another viable option because of his grouping and Energy-refund abilities. A unit like Zhongli can also be a shield in the last slot.
Vaporize (Burst/Nuke)
For buffing and damage output, Bennett and Sucrose/Kazuha are essential. Anemo users must equip the Viridescent Venerer set or Instructor set at the very least. If you’re using Sucrose, The Widsith is a good option, as well as Sacrificial Fragments or Thrilling Tales of Dragon Slayers if you have another TTDS holder on your team.
The final slot is pretty flexible. Some standard options are Klee and Yanfei for Pyro Resonance, and either may hold TTDS. Zhongli also works for extra Resistance shred from his Elemental Skill.
Electro-Charged Comp
The core of this team is Fischl and Beidou, with Electro Element characters. You can substitute Raiden Shogun or Kujou Sara for either one, though. Most times, Raiden will extend the duration of your rotation if you use him.
The last slot is flexible and can be another element character like Anemo, who is good at breaking shields, a healer/shielder, depending on what else the team needs.
An Anemo character works well in EC teams because their skills make it easy to swirl Hydro and Electro together, triggering the 4pc Viridescent Venerer effect for both Elements.
Freeze Comp
Most teams prefer to have two Cryo units and an Anemo unit on their team. The most popular Cryo damage dealers are Ganyu and Ayaka. This allows for the Elemental Burst, an AoE Hydro DMG application, to be used effectively.
The second Cryo unit we use is Diona for her energy-battery capabilities, as well as her helpful shielding and healing. If you don’t need to run a defensive team, Shenhe, Kaeya, or Rosaria make suitable sub-DPS units.
Alternatively, if you’re comfortable with it, you can run Prototype Amber on Mona for extra healing and Energy.
Artifacts
There are different ways to build Mona, and her effectiveness will vary depending on which artifacts you choose. Here are some of the best sets for this character.
DPS
Hydro DMG Goblet/ATK% Sands/Crit Rate or Crit DMG Circlet is usually the best run when used as a DPS. An EM Sands can be an option if she is dependably and constantly able to trigger Vaporize Reactions.
More notably, an EM Sands could result in higher damage output when employed for her burst damage/nuke abilities. There is no universal answer to whether EM Sands or ATK% Sands is better for nuking.
The most suitable choice will depend on the quality of your substations and how well-geared your other buffers (Bennett/Sucrose or Kazuha) are. It would be best to use a damage calculator when making this decision.
Hydro Sub-DPS
| Best Weapon | Skyward Atlas |
|---|---|
| Replacement Weapons |
|
| Best Artifacts |
|
| Main Stats | Sands: ATK% |
| Goblet: Hydro DMG Bonus | |
| Circlet: CRIT Rate or CRIT DMG | |
| Substats | CRIT DMG, CRIT Rate, ATK% |
You can run two different 2-piece bonuses of any combination of artifact sets from the table. Each combination might provide a subtle change in playstyle, but they are all similar as far as damage goes.
The priority should be on selecting artifact pieces with first-rate substations. Unless you have existing components, farming for 2 Depth/2 Shim is the most resourceful option since domain sets like Blizzard Strayer and Emblem of Severed Fate can also be used for other characters.
x4 Heart of Depth (HoD)
The four-set effect of Elemental Skill has a 12-second cooldown and a 15-second duration to be used continuously. However, the only downside is that her skill can steal Vaporize reactions from Xiangling’s Pyronado or her Charged Attacks, which might lower DPS output.
Therefore, this artifact choice usually works best in Electro-Charged teams.
Burst Sub-DPS
| Best Weapon | Skyward Atlas |
|---|---|
| Replacement Weapons |
|
| Best Artifacts |
|
| Main Stats | Sands: ATK% |
| Goblet: Hydro DMG Bonus | |
| Circlet: CRIT Rate or CRIT DMG | |
| Substats | Energy Recharge, CRIT DMG, CRIT Rate, ATK% |
The best option for burst damage/nuke, with a base ER of 132% (152% when factoring in the 2-piece bonus). Mona will have a 38% DMG Bonus to her Burst compared to the 35% provided by the 2 Depth/2 NO option.
However, this difference of 3% should not be focused on; you should use artifacts with higher-quality substations instead. Although the 4-piece effect and A4 passive reduced the damage she took from rolling into Energy Recharge, it was still less than what offensive substate rolls, e.g., ATK%, EM, and CRIT, would’ve done.
Therefore, to use Burst effectively with 4ESF for DPS, only invest more into ER% than necessary.
x4 Wanderer’s Troupe (WT)
If you can Vaporize Charged Attacks, this option will be perfect for you as most of the damage output relies on those.
Even though there are no bonuses for her Normal Attacks, Elemental Skill, and Elemental Burst under this setup, the above scenario more than makes up for it, she has no stamina reduction, so it can be challenging to use Charged Attacks constantly.
This is only viable on Mona teams that utilize Vaporize since EM doesn’t help Electro-Charged teams much.
Support
It is recommended to run a Hydro DMG Goblet/ER% Sands/Crit Rate Circlet for this role. It would help if you prioritized getting ER% for the substations until you have ER% to use Burst off-cooldown (around 200-300%).
Also note that if you are running 4ESF on Mona in a Freeze comp, then an ATK% goblet becomes a more competitive option. This is because she already has a lot of Elemental DMG Bonus for her Burst due to passive talent, the 4ESFs effect, and the Omen damage Buff.
x4 Tenacity of the Millelith (TotM)
The team will receive a buff, but Mona will only be able to keep the TotM buff going for part of the duration of the rotation. This is because Elemental Skill only lasts for 5 seconds.
Another thing to note is that casting Elemental Skill won’t trigger the 4-piece set bonus: The ticking damage from when it hits an enemy will start or sustain the set bonus effect. If another player on your team is already using 4NO and you need additional team buffs, consider Mona.
Using her Ascension 1 talent, she can trigger the TotM – though this interaction is usually only relevant for niche combat situations. Also, remember that some characters may be able to snapshot the TotM buff.
Burst Support
| Best Weapon | Thrilling Tales of Dragon Slayers |
|---|---|
| Replacement Weapons |
|
| Best Artifacts |
|
| Main Stats | Sands: Energy Recharge |
| Goblet: Hydro DMG Bonus | |
| Circlet: CRIT Rate or CRIT DMG | |
| Substats | Energy Recharge, CRIT Rate, CRIT DMG, ATK% |
This set is incredibly versatile for the support role, as it provides a strong team buff, and 60-cost Energy Burst makes it easy for her to activate the Noblesse buff every rotation.
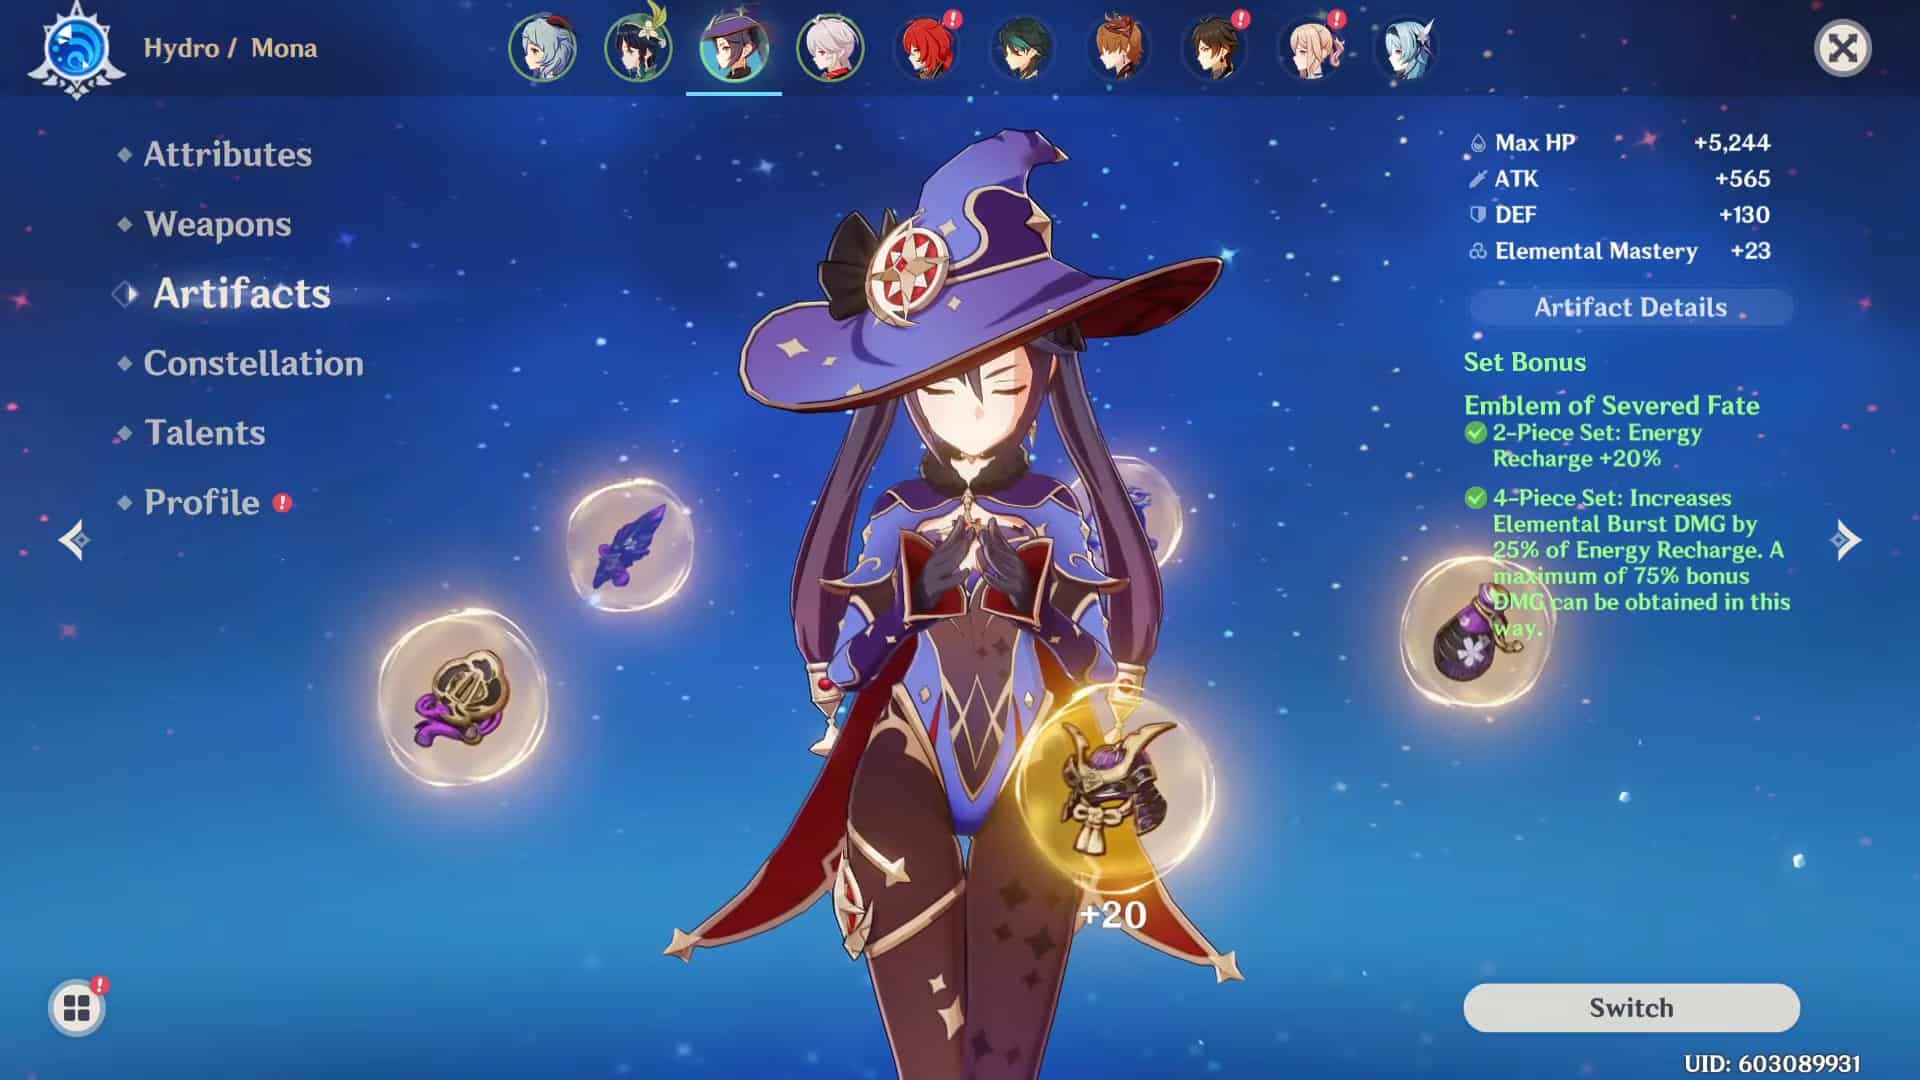
x4 Emblem of Severed Fate (ESF)
Support Mona prefers this artifact set because the 2-piece bonus makes it easier to reach the desired ER% thresholds.
In compositions such as Freeze comps, where she requires high amounts of ER% (200+), and her damage contribution consists of one E Move and one Q every rotation, Emblem of Severed Fate maximizes her damage output.
x4 Instructor
This set of characters is designed for those who want to achieve the highest possible damage output in nuke setups. For example, Hu Tao’s nuke combo in the Peak of Vindagnyr or Spiral Abyss Floor 7 relies on this setup.
Weapons
Mona has access to many weapons that increase her DPS, Sub DPS, and Support abilities, which are the best options.
5★ Weapons
The following weapons are the best for Mona, as they all have a 5-Star ranking.
Lost Prayer to the Sacred Winds
It becomes the strongest 5★ in average damage if you can maintain at least one stack (requires staying on-field for 4 seconds). Additionally, Movement Speed helps dodge enemy attacks and synergizes with Alternative Sprint.
The Crit Rate secondary stat reduces reliance on artifacts having good substrate distribution. Although she will not likely get the weapon’s passive effect when she does the ‘Perfect Combo,’ using this weapon increases the chances of big crit numbers appearing on screen.
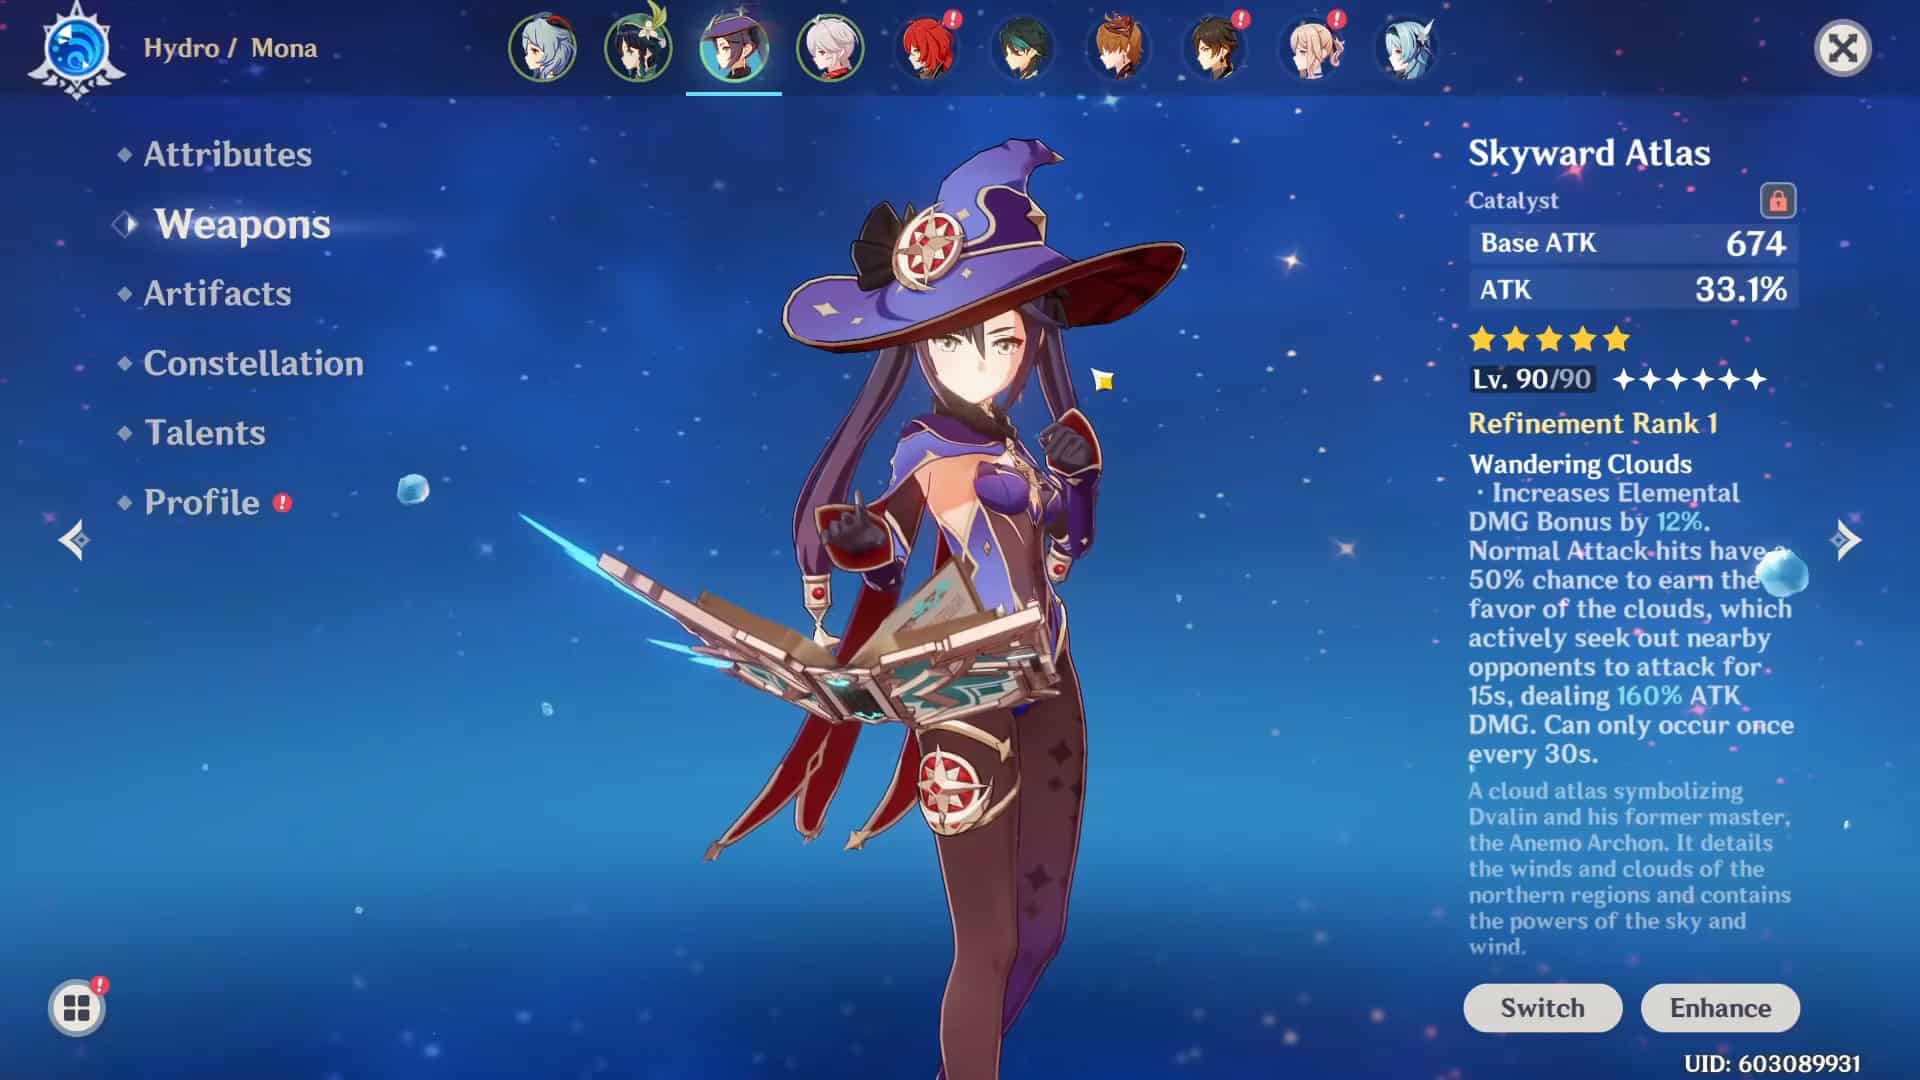
Skyward Atlas
Although Skyward Atlas has the highest damage output of all 5★ options, it can be challenging to raise your Crit stats enough. Additionally, there are some issues with using the ‘Perfect Combo.’
If you summon an Orb while Illusory Bubble is up, the Orb will burst her Bubble and disrupt the combo, significantly lowering Elemental Burst DMG.
Here’s a workaround- use the 15-second downtime when the weapon passive is inactive, or apply Hydro with Charged Attack, Elemental Skill, or Alternative Sprint. These won’t trigger the weapon’s passive.
Memory of Dust
Even without the shield bonus, this weapon is powerful because you get a 20% ATK bonus at five stacks.
It’s beneficial in teams with a strong shielder like Zhongli. However, the downside is that it can be restrictive on teambuilding since you need a shield. The passive effect might be less noticeable if you run this weapon in a group with other ATK buffers.
4★ Weapons

The following weapons also work well for Mona, as they all have a high 4-Star ranking.
The Widsith
The Widsith is the best option for builds that focus on sustained Vaporize DPS and nuke Mona.
However, some things could be improved; because its third buff boosts EM, The Widsith could be better for Electro-Charged comps where this type of team’s damage output wouldn’t be significantly affected.
Additionally, the weapon’s passive would similarly become useless in cooperative play situations where you’re limited to one character – thus being unable to manually swap characters and trigger the weapon’s passive ability. There is also a 20-second downtime period after use which can make it unreliable.}
Mappa Mare
This is an excellent weapon for teams using the Vaporize attack. The weapon’s passive can be stacked twice easily – for example, if you get a Vaporize Reaction on two different enemies with one Charged Attack, you’ll receive two stacks.
It’s usually the best weapon for players who are free-to-play or have low spending power/unlucky luck when it comes to drops and doesn’t own The Widsith or any 5★ catalysts but want to use the Mona nuke playstyle.
Favonius Codex
This weapon is mighty and gives Mona a chance to support her team with high ER% scores. She can trigger its passive effect to provide extra Energy for her teammates regularly if it’s sufficiently crit-rated and refined.
This provides consistent burst damage in Freeze or vaporized compositions and increased uptime, which is essential for sustained success. This weapon she uses allows her to act as a supported hybrid between bursting and normal supporting.
In Quickswap teams, you use your Elemental Skill before using your Elemental Burst, so more ticks of the skill will occur while sis is on-field. If you do this, it’s more likely for the Favonius passive to trigger – which requires less building of Crit Rate statistics.
Solar Pearl
This weapon is perfect for any DPS Mona player. Its secondary Crit Rate stat allows you to hit a 1:2 crit ratio more quickly, and the passive provides 20% increased damage (up to 40% at R5) on Normal Attacks, Elemental Skill, and Burst.
While 6 seconds might not be enough time to perform the ‘Perfect Combo’ and benefit from the damage increase from the passive, that’s not an issue for Electro-Charged and Freeze comps where you are focused more on Omen’s DMG% buff and Hydro damage output.
Prototype Amber
This weapon allows Mona to be both damage-increasing support and pseudo-healer due to its passive effect. This type of role compression can come in handy for Freeze teams by enabling you to replace Diona with a more damage-oriented Cryo unit (Ganyu, Ayaka, Rosaria, Kaeya, Shenhe).
The Energy regeneration through its passive is comparable to the Favonius Codex at higher refinements; however, using this weapon will make your damage almost negligible. For those passionate about her everywhere, this is an atrocity.
Other variants
The weapons below can be helpful for Mona and also have a good ranking. However, some are more situational than others.
Thrilling Tales of Dragon Slayers
A powerful support weapon of choice is the Freeze Comp. It provides a 48% ATK buff at Refinement level 5 for your main DPS, on top of the DMG% buff from Omen, to further enhance already substantial buffing abilities.
A good example is using it with Ganyu/Ayaka, who will be doing most of the team’s damage output.
The Freeze Comp is a meager investment for high return since it only requires refinements to shine; however, its secondary stat makes building ER% difficult. Similar to Prototype Amber, using this weapon make’s her way less powerful than she could be.
Blackcliff Agate
The potential for this Catalyst is high because it provides a 12% attack buff (up to 24% at R5) for 30 seconds after defeating an enemy. The power of the passive varies depending on the situation.
Stacking and keeping multiple stacks against weaker enemies can be easy, but most boss characters will make the inactive completely useless. Each stack is its entity, and you can only collect stacks if you are the one who causes the fatal blow.
Furthermore, you cannot gain any stacks while not on-field, meaning it will not work with the ‘Perfect Combo’ feature.
Wine and Song
Though this weapon looks excellent and seems explicitly made for Mona, it falls short. The Catalyst tries to do too much all at once with an offense-focused passive effect and high Base ATK but a support-oriented secondary stat.
Additionally, dashing to use the passive has anti-synergy with the most potent attack string combo of 2NA + CJ. Some people also find that her Alternative Sprint could be more explicit, which makes taking advantage of the effect difficult. Lastly, refinements are tough to come by as it is a limited 4★ weapon.
Dodoco Tales
The Dodoco Tales is a weapon that can do significant damage per second for Mona, mainly if you played the event in version 1.6. Additionally, the weapon’s passive effect works well with constellation 2. An R5 Dodoco Tales is equivalent to an R1 Widsith in Vaporize DPS over time.
Hakushin Ring
This weapon can be a solid choice for teams with Electro-Charged units, as they usually deal the most damage. This Catalyst can buff Fischl and Beidou, making them more viable options in those teams.
F2P Mona build
Suitable no-spend catalysts are more difficult to find than other weapon types, but Mona has some options:
- Weapon: Thrilling Tales of Dragon Slayers or the Widsmith.
- Artifact: (2) Heart of Depth, (2) Noblesse Oblige.
Though Thrilling Tales of Dragon Slayers is only a three-star catalyst, it’s still one of the best options. When you switch characters, it applies a 24 percent attack boost for ten seconds. This weapon is a decent choice if you want to use her to help other damage-dealing characters.
The four-star Widsmith is much better and buffs critical damage as a substrate. It also randomly plays one of three theme songs for ten seconds when a character enters the field, which increases either: attack by 60 percent, elemental damage by 48 percent, or elemental mastery by 240.
For F2P players who can’t get their hands on the Hakushin Ring through gacha, they may have to make do with it. The Hakushin Ring amplifies Energy Recharge, turning Mona into a reliable support for Electro characters.
Team her up with Lisa, Raiden, or Beidou, and watch your party reap the benefits of consequential area-of-effect elemental damage, even after switching out different characters!
These are good for developing stats, especially if you also use her with Freeze reactions. If you’re looking for alternatives to the Emblem of Severed Fate, then two pieces of Heart of Depth and two pieces of Noblesse Oblige can offer a lot.
Hydro damage is increased by 15 percent with Heart of Depths, which works well. Additionally, Noblesse Oblige raises Burst damage output by 20 percent.
If you have Thrilling Tales Dragon Slayers and want to use blast offensively to help another character, four pieces of Nobile Oblige would suffice because it gives an overall attack bonus to your party when used during a battle.
She will be fine damage-wise as long as you build for crits and ensure she can get her Burst off reasonably often. Energy recharge won’t matter as much if you’re not using Emblem of Severed Fate.
How to use Mona
Here are some tips which will help you to use Mona rightly. Let’s look closer at it.
Direct Enemy Aggro to Decoy
Her Elemental Skill, Mirror Reflection of Doom, summons a decoy that taunts enemies nearby. If you hold the button down when casting, Mona will backstep. This combination of her unique dash and Elemental Skill allows for quick emergency escapes if you find yourself in danger.
Amplify Elemental Reaction Damage
The primary focus is her capability to dramatically amplify Elemental DMG with Elemental Burst and Stellaris Phantasm. Ability creates a debuff bubble on enemies that boosts the damage dealt to them and causes an explosion of Hydro DMG when the Bubble pops.
Mass damage can be inflicted by using the Hydro explosion to trigger Melt or Vaporize.
Able to Dash Across Water
Mona is one of the only characters that can dash across the water, which makes traveling much more manageable. Although her dash doesn’t last as long as an ordinary dash, it’s still long enough to cross most rivers.
Be careful, though – she cannot dash while already on the water, and if she runs out of stamina, she will drown just like any other character.
Select Mona When Crafting Ascension Materials
Passive Talent refunds 25% of the materials used when you create Mona Ascension Materials, so you can save time on hunting for rare materials. Always choose Mona when preparing these items to make the most out of your effort.
Should you use Mona?
This character has a unique movement style that allows taking high-speed actions. Her Elemental skill provides a decoy for crowd control, while Mona’s elemental Burst deals a lot of damage and buffs damage output.
She is one of the most flexible supports in the game. She is often used in Freeze teams with Ganyu or Ayaka, provides a considerable damage increase to your team, and can hold TTDS. One of the advantages is the cheap Mona build.
Also, this hero doesn’t take much field time, which enables Quickswap playstyles and compositions, does not require 5★ catalysts to perform at maximum potential, is excellent for DMG per the screenshot, and has a lot of fan art.
However, Base HP and DEF are low, so she requires elemental reactions to deal the most damage. She can be challenging to play because of her alternative sprint mechanic, but she rewards players with powerful DPS.
Building a Mona that can vaporize or electro-charge teams is semi-expensive, but her Constellations are not significant after C4.
Conclusion
Mona is a powerful character in Genshin Impact and can be played in many different ways.
In this guide, we explored how to make the best Mona build for your gameplay style, covered what you need to obtain her, what role she should play in your team, and gave some advice about the best talents, weapons, constellations, team composition, and artifacts for her.
With this information, you’ll be able to create a unique and robust build that helps you dominate your opponents. Make sure you have everything before starting your journey with Mona, and thanks for reading!

Peter Lyakh
I write reviews, guides, tips and interesting facts about a wide variety of RPGs on the market. In addition, I offer my vision of the best characters, progression, and ways to play that can help beginners improve their skills and gaming experience.